23. Launch test Xen CentOS 7 Instance
This page is not based on the OpenStack Installation Guide.
- From a web browser, access http://
*CONTROLLER ADDRESS*/dashboard. - Log in using the demo credentials.
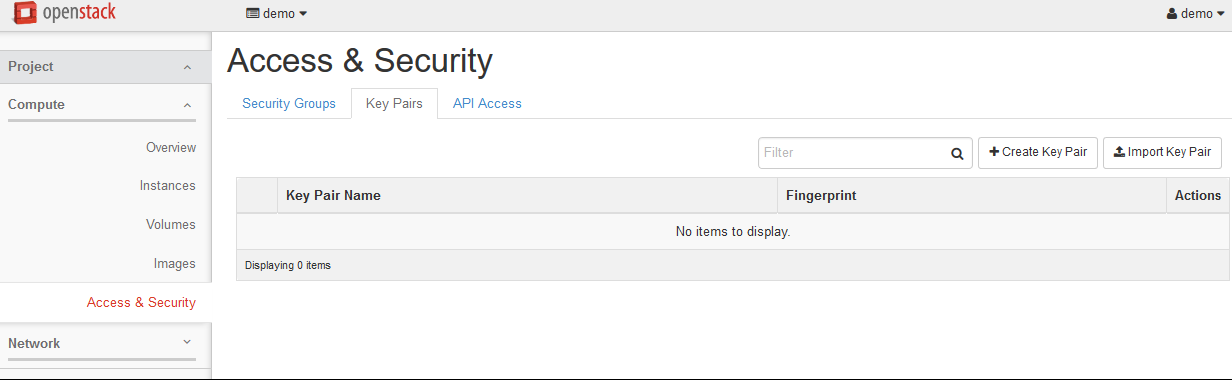
- In the left-hand menu, under “Project”, and then “Compute”, click on “Access & Security”. Click on the “Key Pairs” tab:
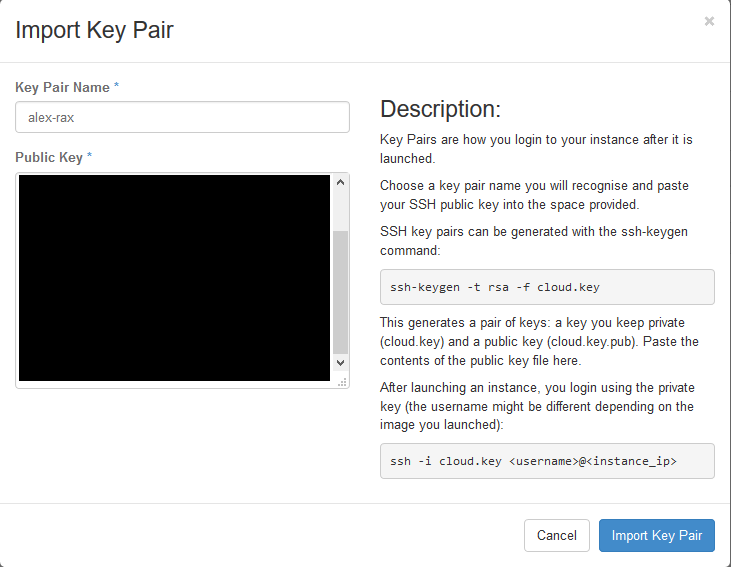
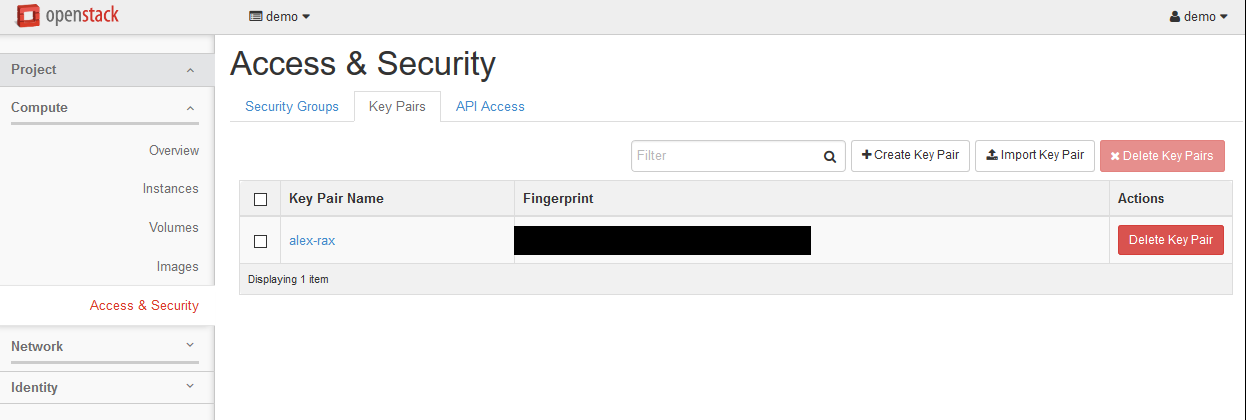
- If you have an SSH keypair already available which you would like to use, click on “Import Key Pair”. Give the key a name and then paste in your public key:
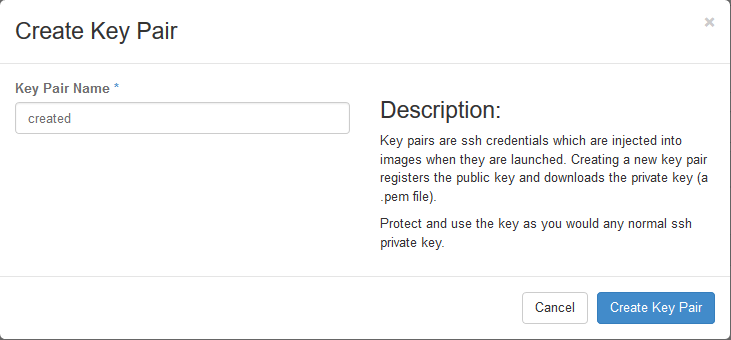
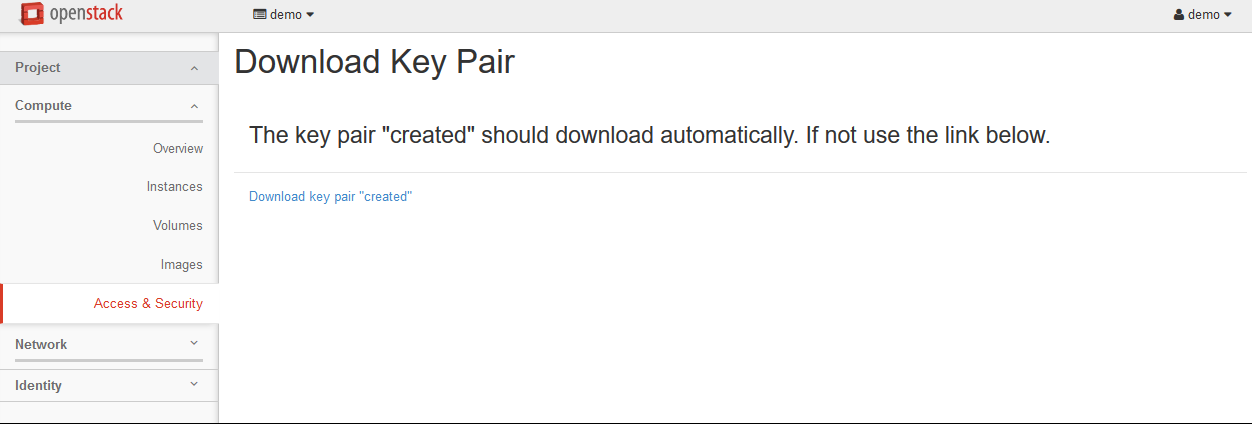
- Alternatively, if you would like to create a new pair, click on “Create Key Pair. Give the key a name and click on “Create Key Pair. Download the key for use in your SSH client:
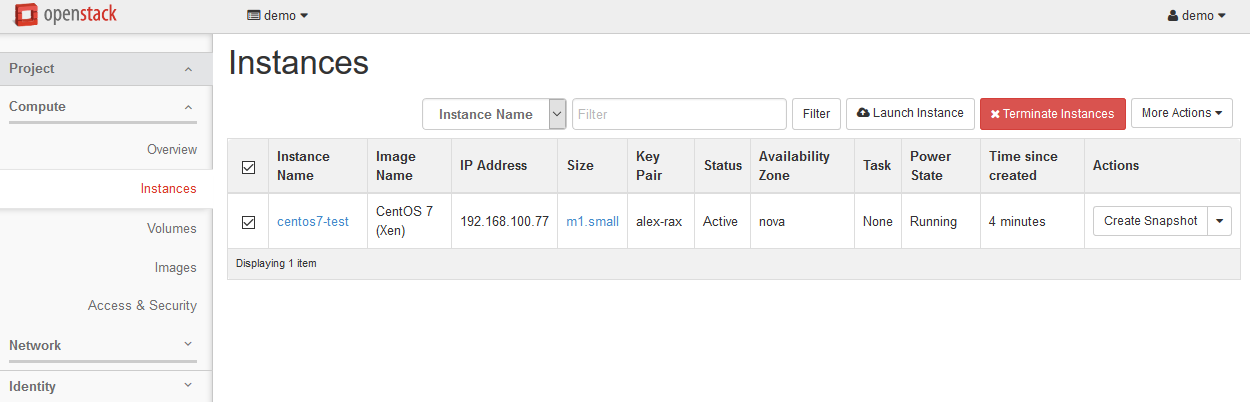
- In the left-hand menu, under “Project”, and then “Compute”, click on “Instances”.
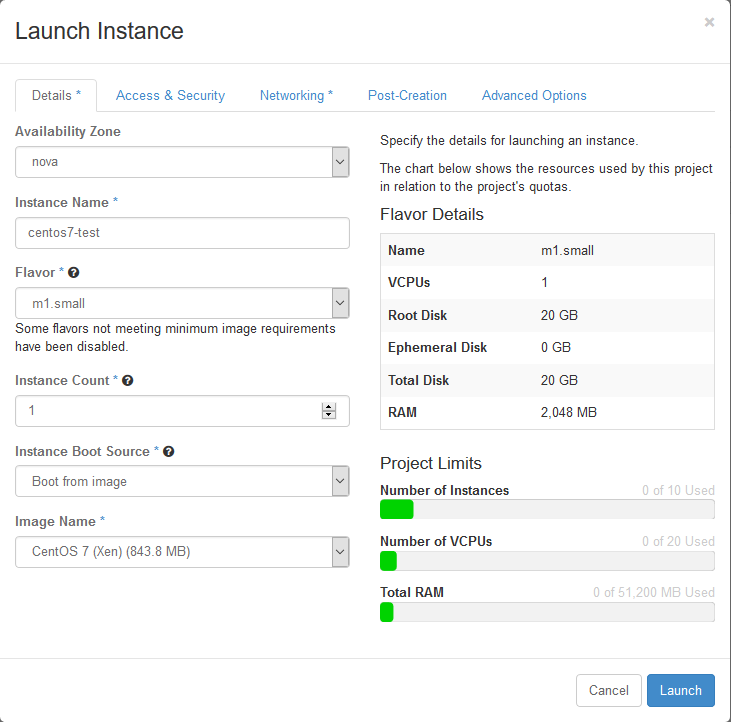
- Click on “Launch Instance”. Name the instance “
centos7-test”, select the “m1.small” flavor, and “boot from image”. Choose the “CentOS 7 (Xen)” image. Before clicking on “Launch”, click on the “Access & Security” tab:
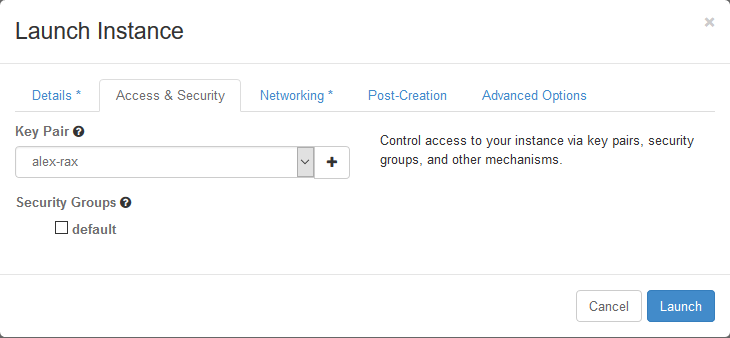
- Ensure that the key pair you just created or imported is selected, and then click on Launch:
- Wait for the instance to go to “Active” state, and then SSH to the server as “root”, using the key pair you just created or imported.
- When you are satisfied that the test instance is working, select it and then click on “Terminate Instances”. Click on “Terminate Instances” to confirm.