22. Create Xen CentOS 7 Image
This page is not based on the OpenStack Installation Guide.
Log on to the control node as root.
Download the CentOS 7 ISO, and upload it to glance:
# wget http://mirror.rackspace.com/CentOS/7.2.1511/isos/x86_64/CentOS-7-x86_64-NetInstall-1511.iso
# source admin-openrc.sh
# glance image-create --name "CentOS 7 ISO" --file CentOS-7-x86_64-NetInstall-1511.iso --disk-format iso --container-format bare --visibility public --progress
From a web browser, access http://
*CONTROLLER_ADDRESS*/dashboardLog in using the admin credentials.
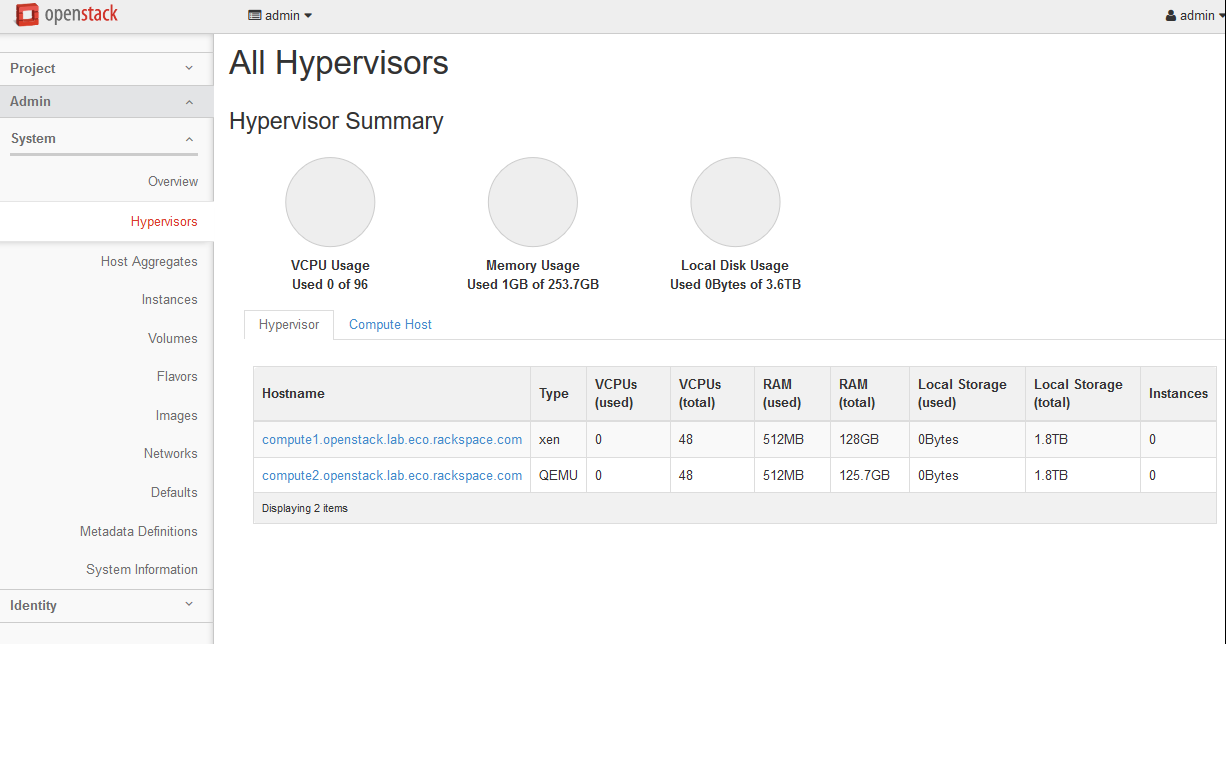
In the left-hand menu, under “Admin”, and then “System”, click on “Hypervisors”:
- Click on the “Compute Host” tab:
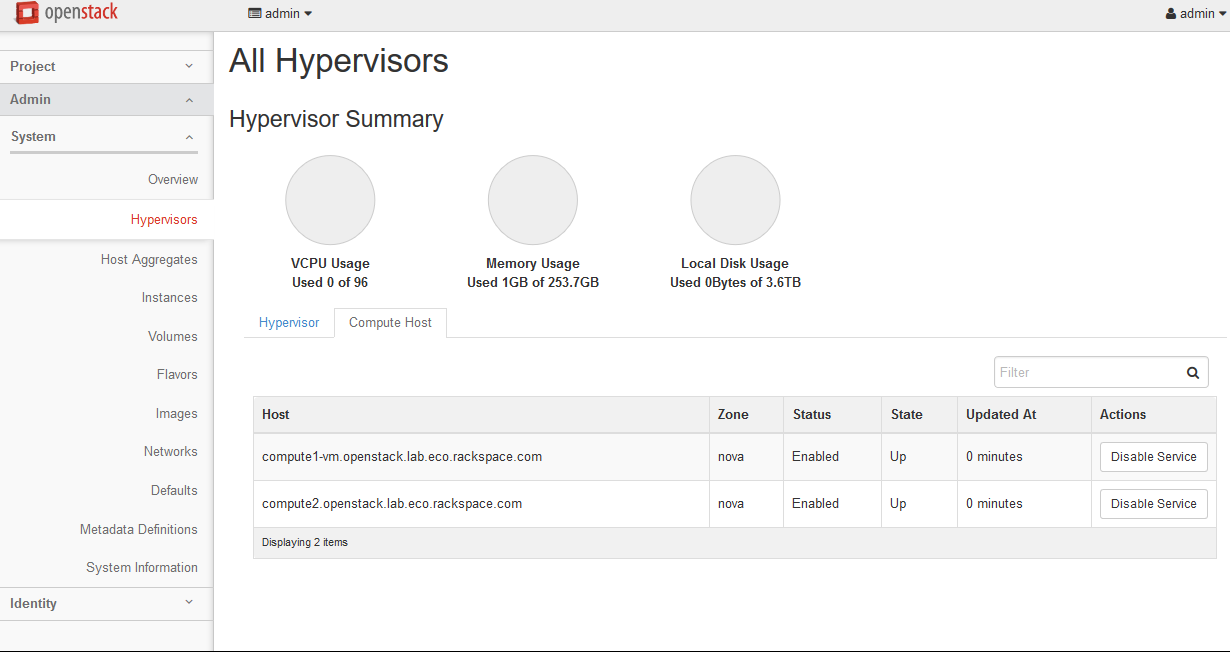
- Next to “compute2”, click on “Disable Service”.
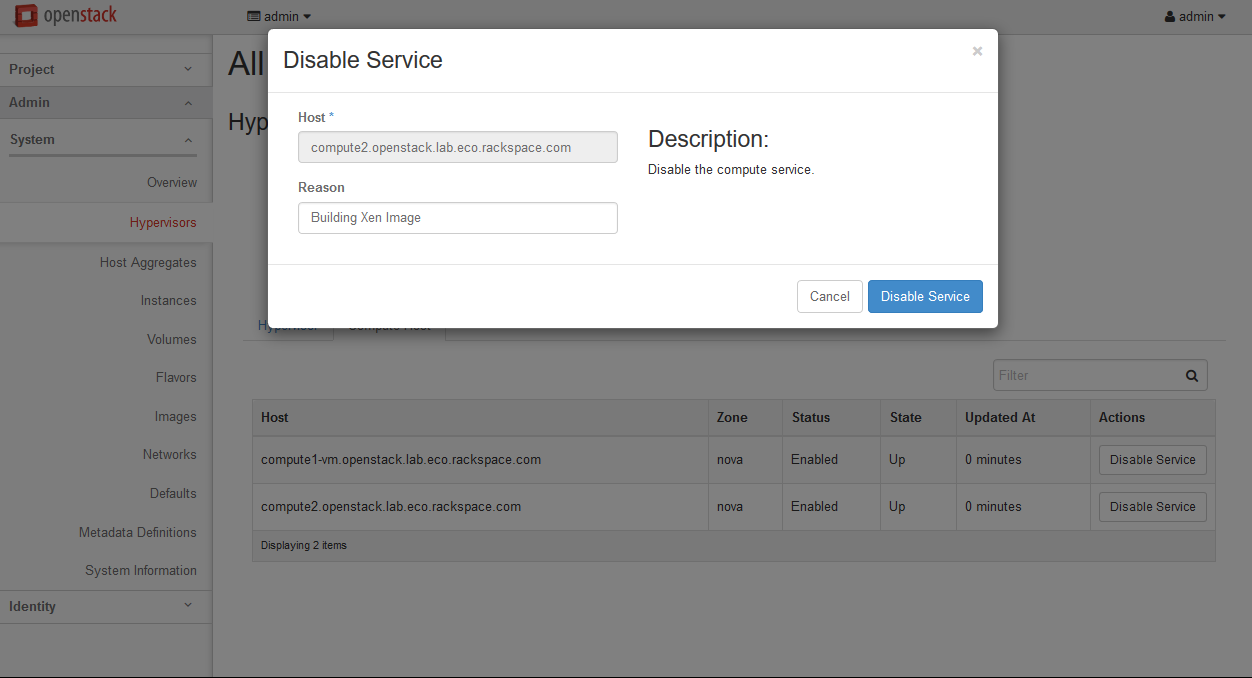
- Enter a reason of “Building Xen image”, and click “Disable Service”:
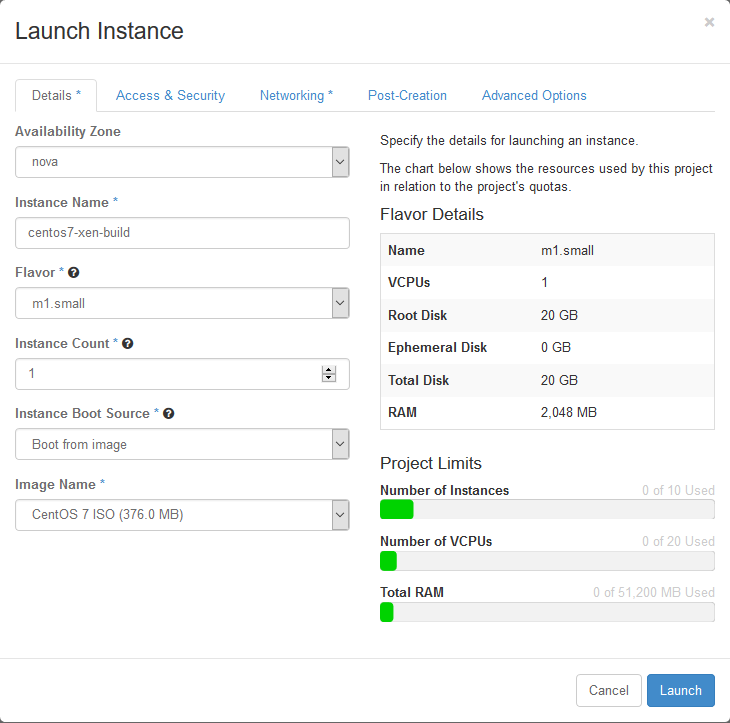
- In the left-hand menu, under “Project”, and then “Compute”, click on “Instances”. Click on “Launch Instance”.
- Give the instance the name “
centos7-xen-build”, use the flavor m1.small (for a 20GB disk), and select “Boot from image” and the “CentOS 7 ISO” image. Launch the instance:
- Wait for the instance to enter “Active” state. Then click on the instance. Click on the “Console” tab, and then click on the grey “Connected (unencrypted) to: QEMU” bar so that keyboard input will be directed to the console:
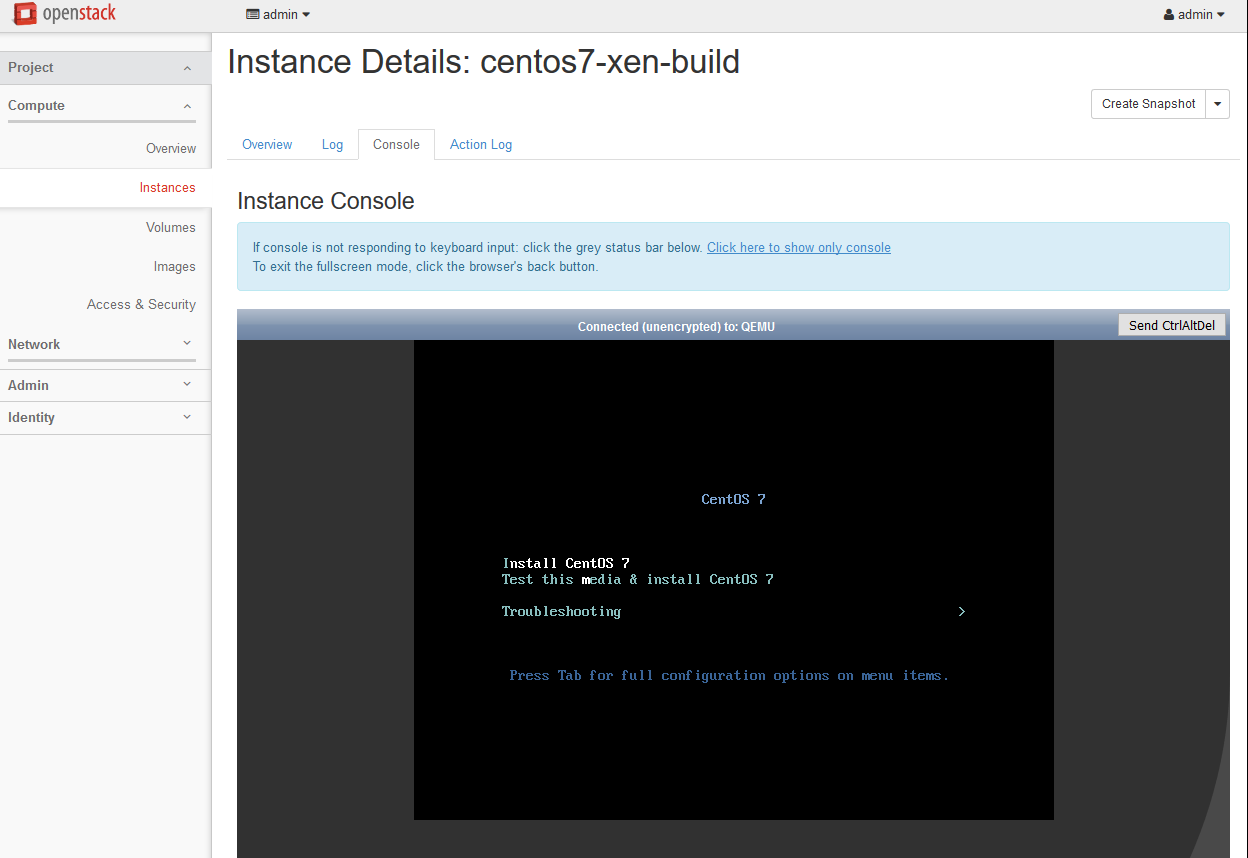
- Highlight “Install CentOS 7”, and press Enter. Wait for the installer to start:
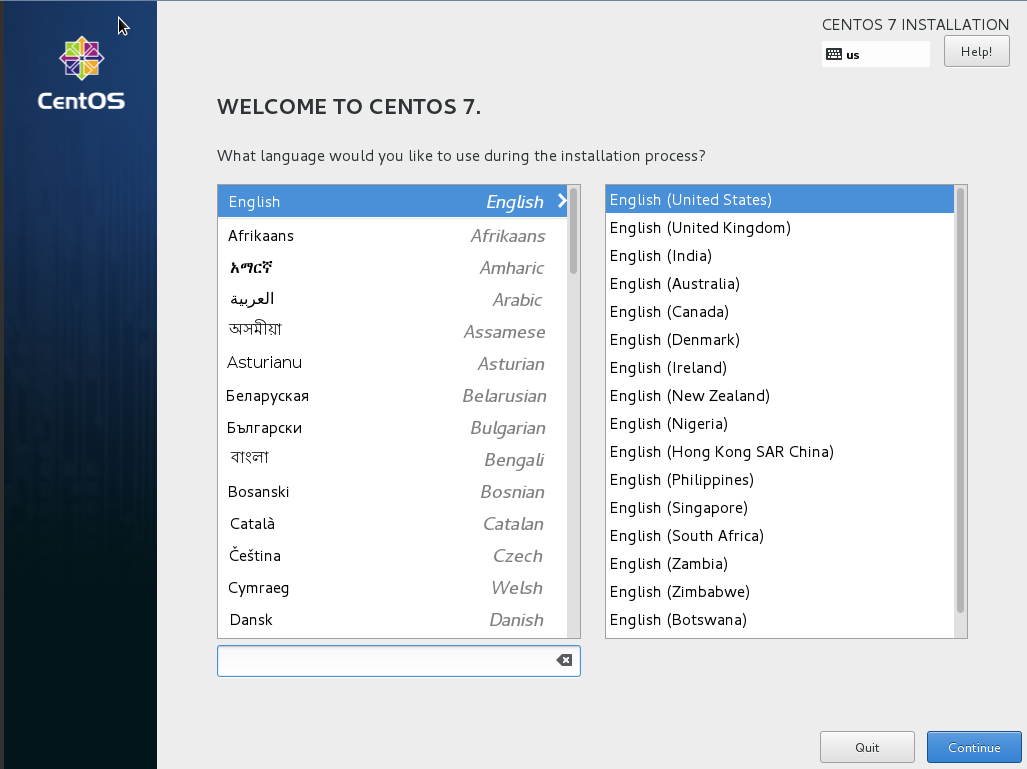
- Set language and timezone.
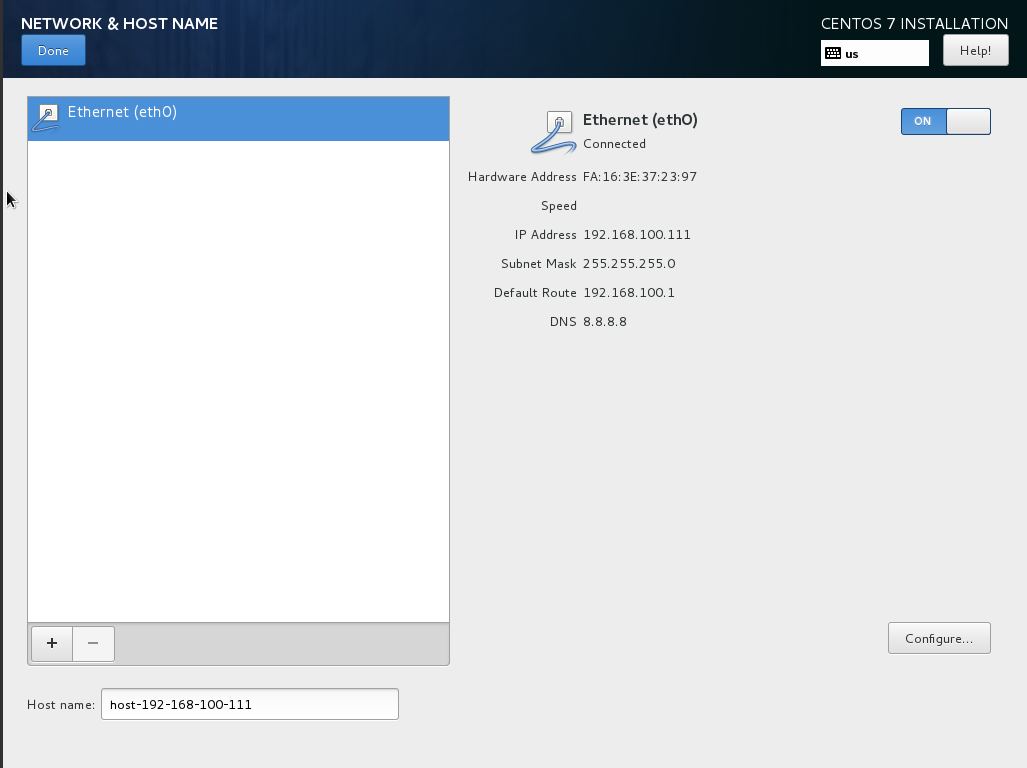
- Click on “Network & Hostname”. Enable the network interface by setting the switch to “On”:
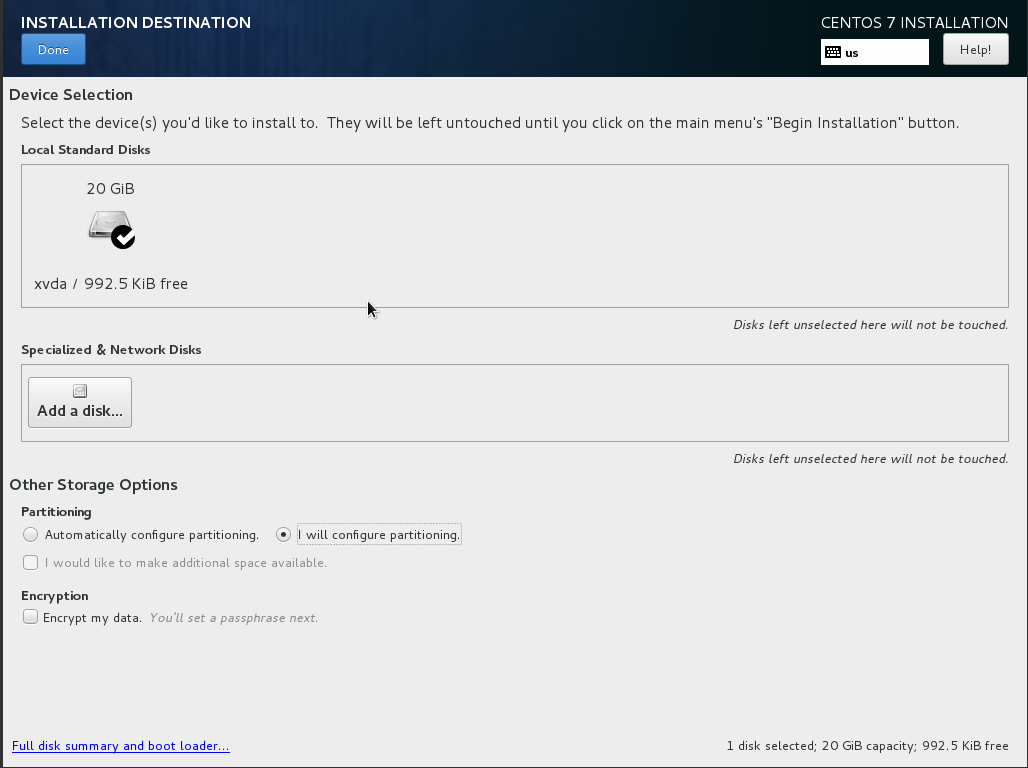
- Click on “Installation Source”. Set the source to network, and then define a known-good mirror. You can use
http://mirror.rackspace.com/CentOS/7.2.1511/os/x86_64/. - Click on “Installation Destination”. Select “I will configure partitioning” and click on “Done”:
- Click the arrow next to the word “Unknown” to expand that section and display the partition. Select “Reformat”, set the file system to “ext4”, and set the mount point to “/”. Click Done:
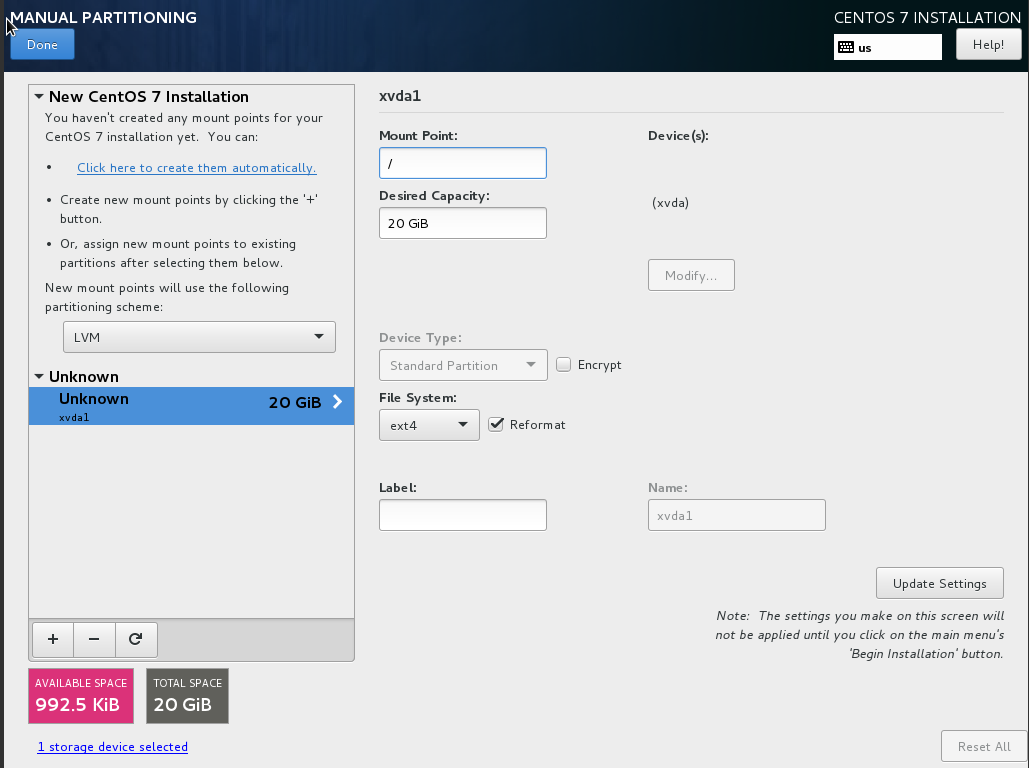
- A yellow warning bar will appear. Click “Done” again, and then click on “Accept Changes”.

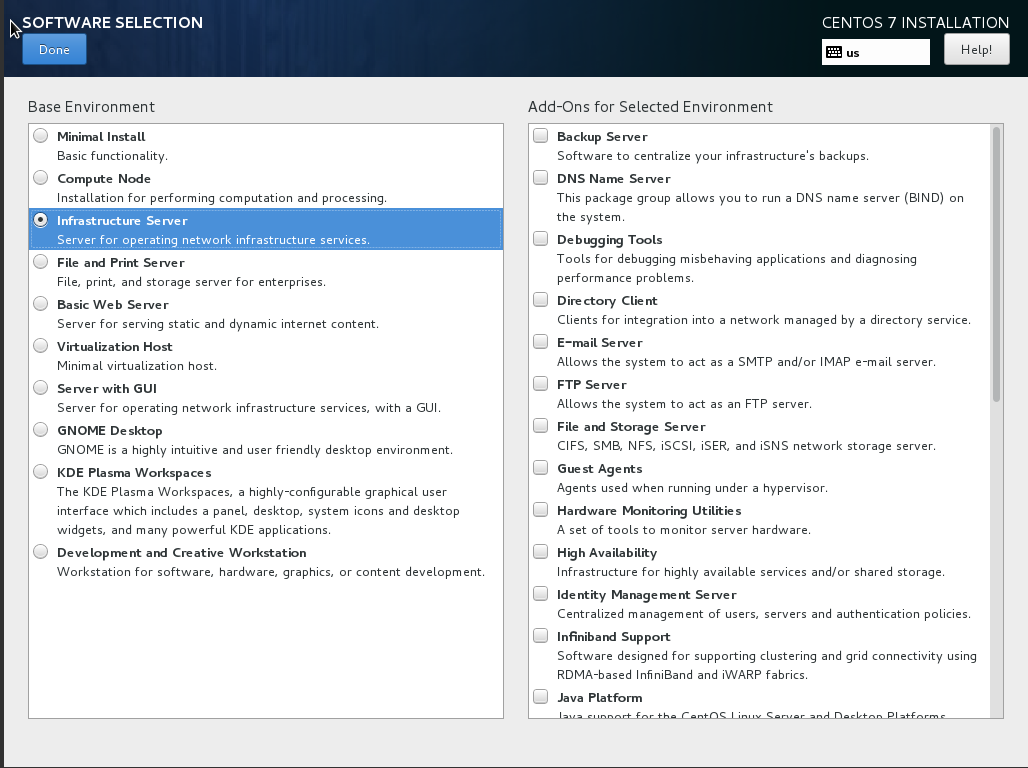
- Click on “Software Selection”. Select “Infrastructure Server”, and click “Done”.
- Click “Begin Installation”. Click on “Root Password” and set a good password.
- Once installation is complete, click “Reboot”.
- When reboot completes, your connection to the console will likely die. Refresh the page, click on the “Console” tab again, and then click on the grey banner again.
- The server will be attempting to boot from the ISO once more. Press any key to stop the countdown.
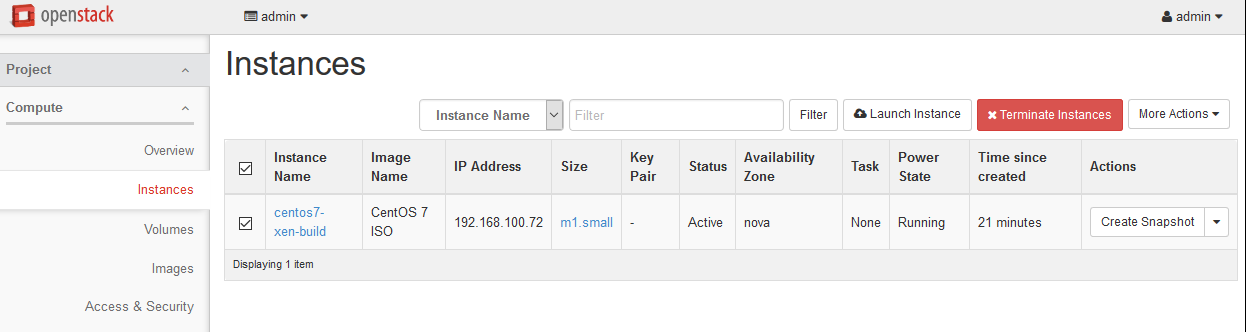
- In the top-right of the page, click the “Create Snapshot” button:

- Call the image “
centos7-xen-initialkick” and click on “Create Snapshot”:

- Horizon will show the “Images” page. Wait until “centos7-xen-initialkick” reaches “Active” status, and then click on the image.
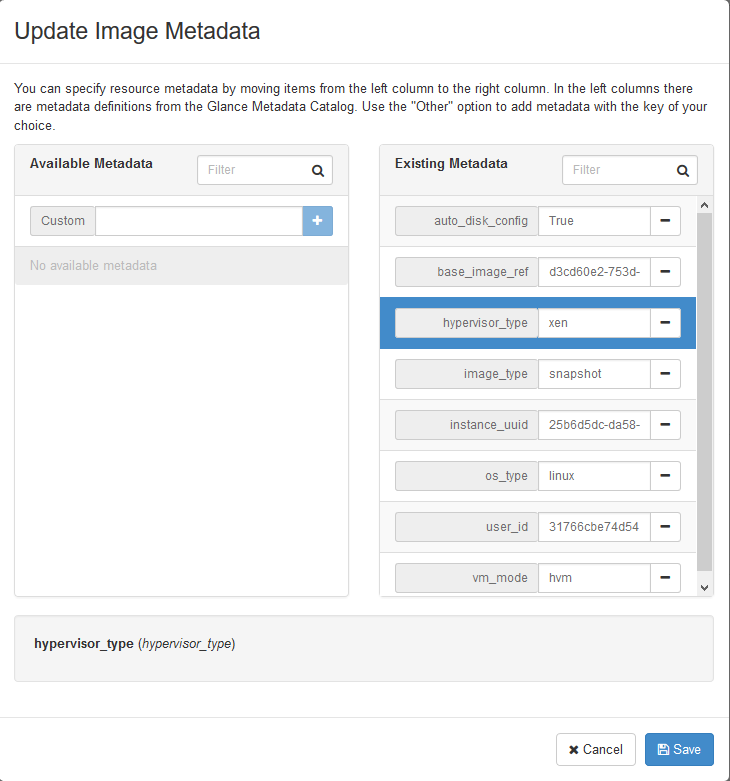
- In the top-right drop-down, click on “Update Metadata”.
- On the left-hand side, in the “custom” box, enter “
vm_mode” and click on the + button. - On the right-hand side, in the “vm_mode” box, enter “
hvm”. - On the left-hand side, in the “custom” box, enter “
hypervisor_type” and click on the + button. - On the right-hand side, in the “hypervisor_type” box, enter “
xen”, and click on the “Save” button:
- In the left-hand menu, under “Project”, and then “Compute”, click on “Instances”.
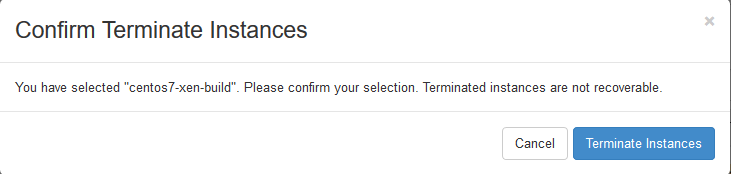
- Highlight the “centos7-xen-build” instance, and click on “Terminate Instances”.
- Click “Terminate Instance” again to confirm:
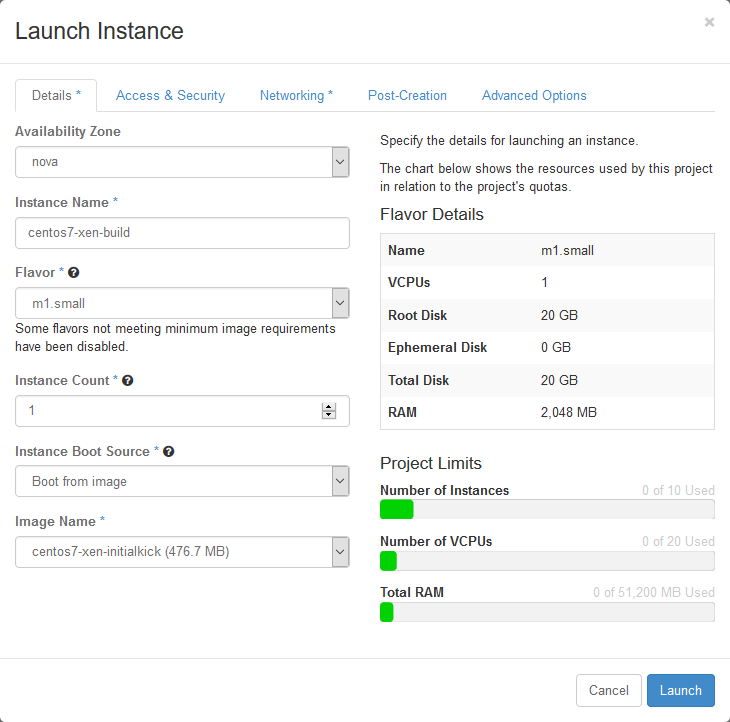
- Click on “Launch Instance”. Give the instance the name “
centos7-xen-build”, use the flavor m1.small (for a 20GB disk), and select “Boot from image” and the “centos7-xen-initialkick” image. Launch the instance:
Wait for the instance to enter “Active” state. SSH to the new instance as “root”, using the root password used during setup.
Delete the static hostname file:
# rm /etc/hostname
Stop and disable the firewalld service:
# systemctl disable firewalld.service
# systemctl stop firewalld.service
Disable SELINUX:
# setenforce 0
# vim /etc/sysconfig/selinux

  SELINUX=permissive
Update all packages on the server:
# yum update
Download and install the XenServer tools:
# wget http://boot.rackspace.com/files/xentools/xs-tools-6.5.0-20200.iso
# mkdir /mnt/cdrom
# mount -o loop xs-tools-6.5.0-20200.iso /mnt/cdrom
# cd /mnt/cdrom/Linux
# rpm -Uvh xe-guest-utilities-xenstore-6.5.0-1427.x86_64.rpm xe-guest-utilities-6.5.0-1427.x86_64.rpm
# cd ~
# umount /mnt/cdrom
# rm xs-tools-6.5.0-20200.iso
Reboot the instance:
# systemctl reboot
Wait for the server to reboot, and then log back in as root.
Install the nova-agent:
# rpm -Uvh https://github.com/rackerlabs/openstack-guest-agents-unix/releases/download/1.39.1/nova-agent-1.39-1.x86_64.rpm
Create a CentOS 7.2-compatible systemd unit file for the nova-agent service:
# vim /usr/lib/systemd/system/nova-agent.service

  [Unit]
  Description=nova-agent service
  After=xe-linux-distribution.service

  [Service]
  EnvironmentFile=/etc/nova-agent.env
  ExecStart=/usr/sbin/nova-agent -n -l info /usr/share/nova-agent/nova-agent.py

  [Install]
  WantedBy=multi-user.target
Create a python environment file for the nova-agent service:
# vim /etc/nova-agent.env

  LD_LIBRARY_PATH="${LD_LIBRARY_PATH}:/usr/share/nova-agent/1.39.1/lib"
  PYTHONPATH="${PYTHONPATH}:/usr/share/nova-agent/1.39.1/lib/python2.6/site-packages:/usr/share/nova-agent/1.39.1/lib/python2.6/"
Reload systemd to import the new unit file:
# systemctl daemon-reload
Enable and start the nova-agent service:
# systemctl enable nova-agent.service
# systemctl start nova-agent.service
Remove the static network configuration file:
# rm /etc/sysconfig/network-scripts/ifcfg-eth0
Clear the root bash history:
# rm /root/.bash_history; history -c
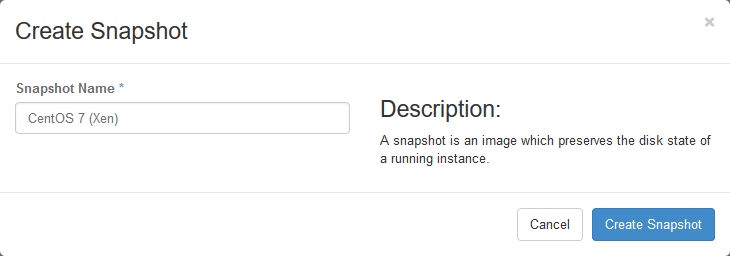
In horizon, click the “Create Snapshot” button next to the Instance. Name the image “
CentOS 7 (Xen)”:
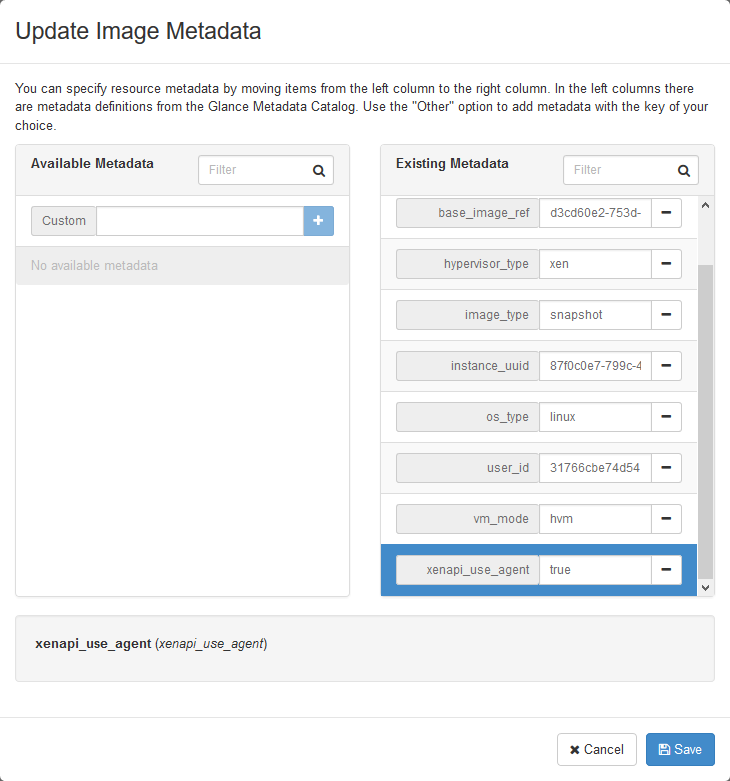
- Wait for the image to go to “Active” state and then, from the drop-down box next to the image, click on “Update Metadata”.
- On the left-hand side, in the “Custom” box, enter “
xenapi_use_agent”, and then click the + button. - On the right-hand side, in the “xenapi_use_agent”, enter “
true” and then click the Save button:
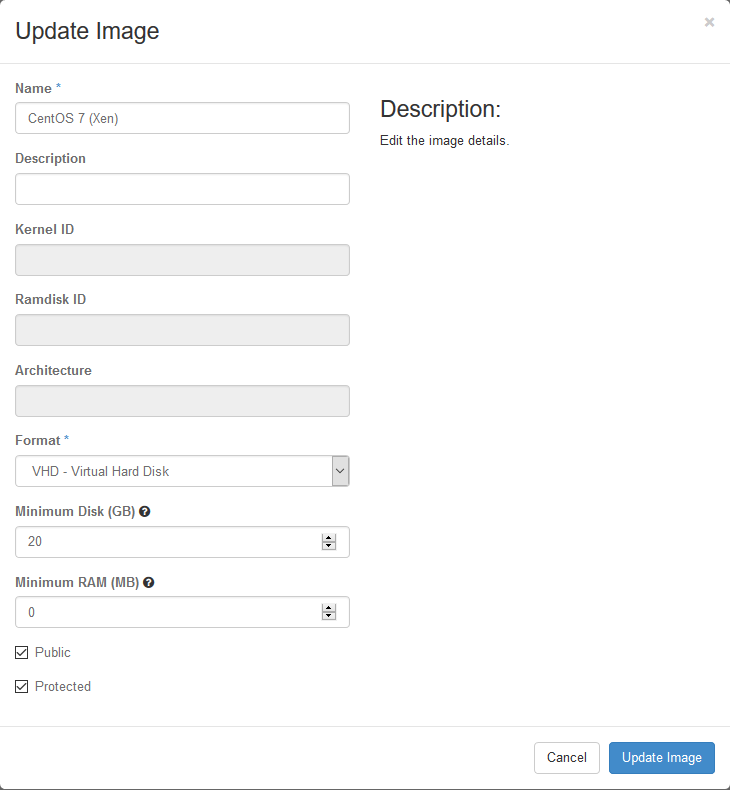
- In the drop-down box next to the image, click on “Edit Image”.
- Check the “public” and “protected” boxes, and click on “Update Image”:
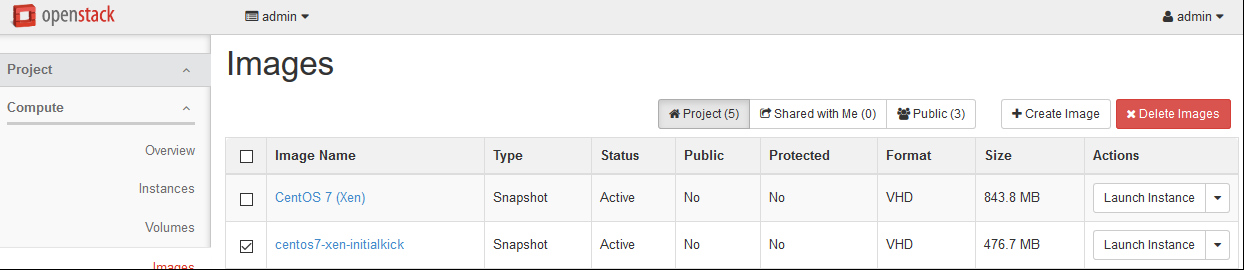
- Select the “centos7-xen-initialkick” image, and click on “Delete Images”. Click “Delete Images” to confirm:
- In the left-hand menu, under “Project” and then “Compute”, click on “Instances”.
- Highlight the “centos7-xen-build” instance, and click on “Terminate Instances”. Click “Terminate Instances” to confirm:
- In the left-hand menu, under “Admin” and then “System” click on “Hypervisors”. Next to “compute2”, click on “Enable Service”.