21. Update images for dual-hypervisor environment
This page is not based on the OpenStack Installation Guide.
Log on to the controller node as root.
Download the cirros image for KVM hypervisors:
# wget http://download.cirros-cloud.net/0.3.4/cirros-0.3.4-x86_64-disk.img
Upload the image to glance:
# source admin-openrc.sh
# glance image-create --name "cirros-kvm" --file cirros-0.3.4-x86_64-disk.img --disk-format qcow2 --container-format bare --visibility public --progress
From a web browser, access http://
*CONTROLLER_ADDRESS*/dashboardLog in using the admin credentials.
In the left-hand menu, under “Admin”, and then “System”, click on “Images”. Click on the “cirros-kvm” image:
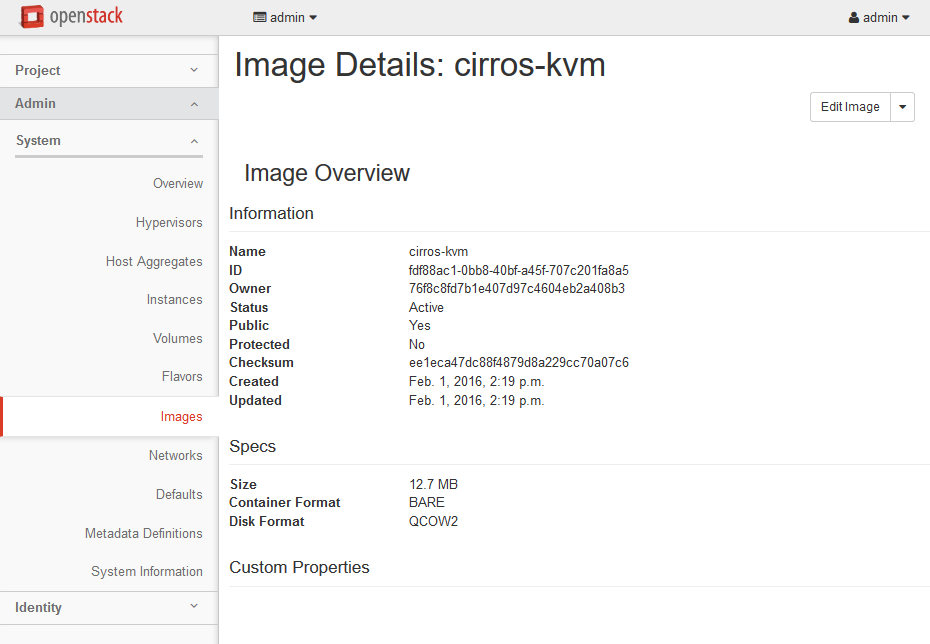
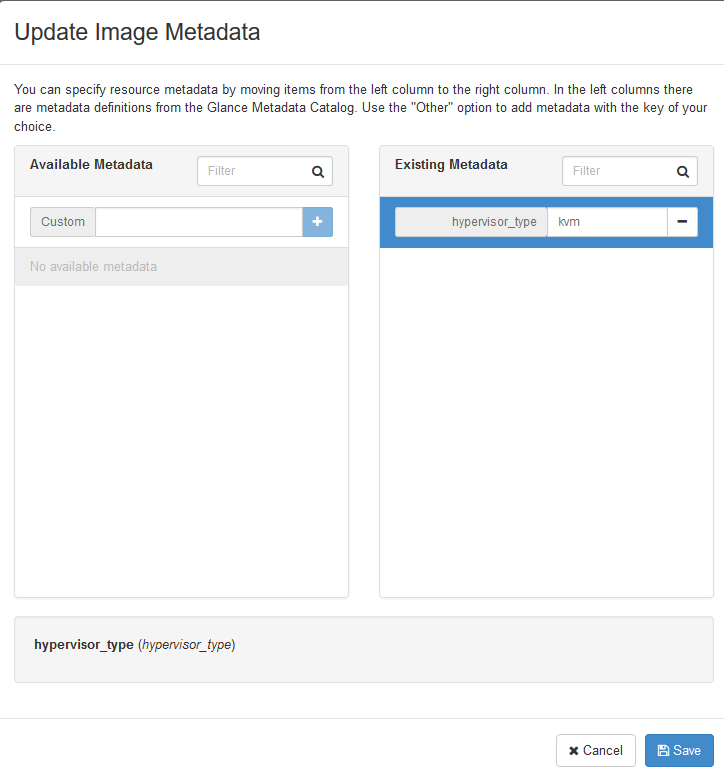
- In the top-right drop-down, click on “Update Metadata”:
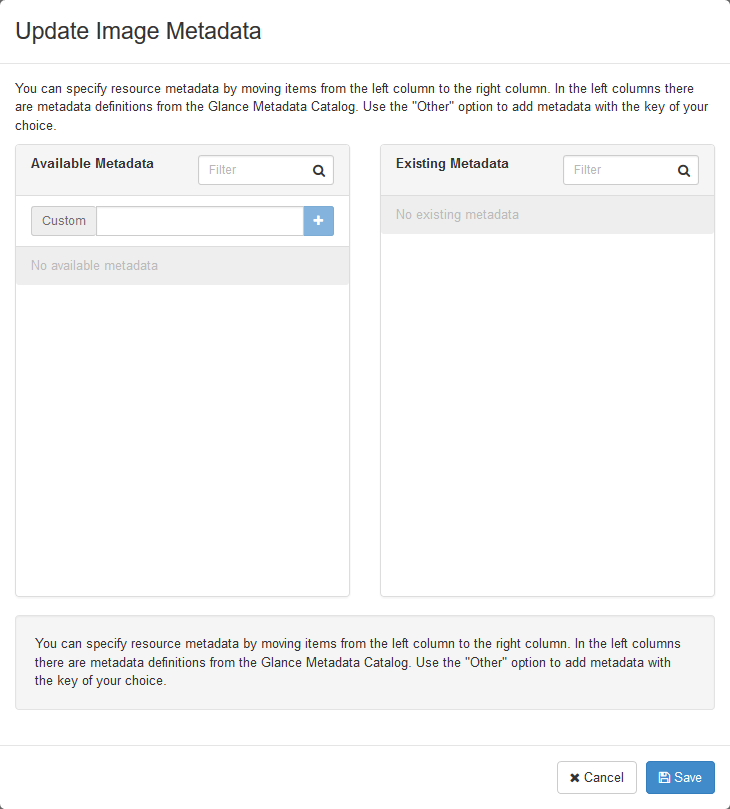
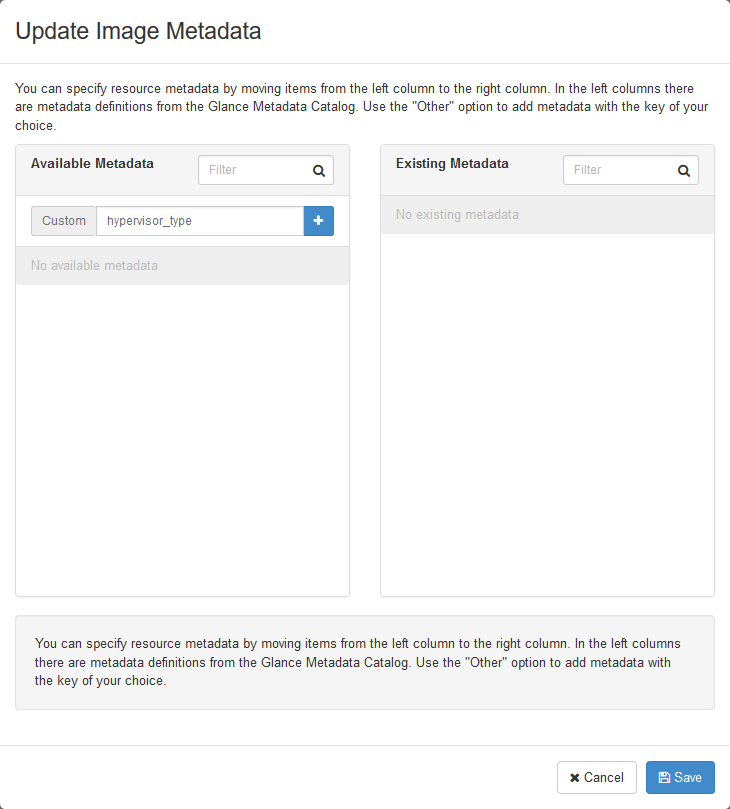
- On the left-hand side, in the “custom” box, enter “
hypervisor_type”, and then click on the + button:
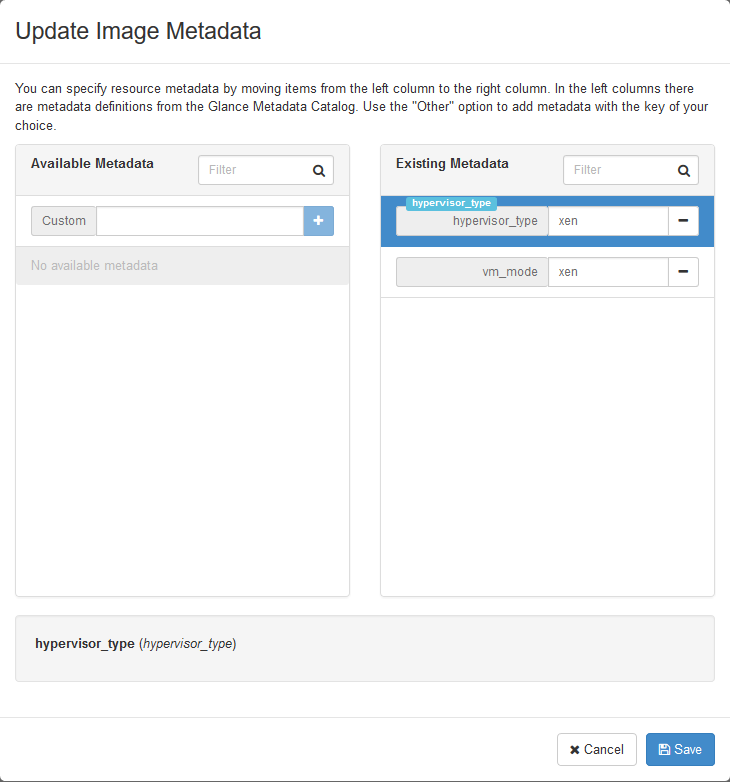
- Now, on the right-hand side, in the “hypervisor_type” box, enter “
kvm” and click “Save”:
- In the left-hand menu, under “Admin”, and then “System”, again click on “Images”. This time click on the “cirros-xen” image.
- Again click on “Update Metadata” in the drop-down. Follow the same steps, but set “hypervisor_type” to “
xen”: