7. Build XenServer Host
This page is not based on the OpenStack Installation Guide.
- In this guide I am using a server with a small RAID-1 for the OS, and a large RAID-10 for the VMs.
- Boot with XenServer 6.5 DVD.
- Set keyboard, agree to terms, etc.
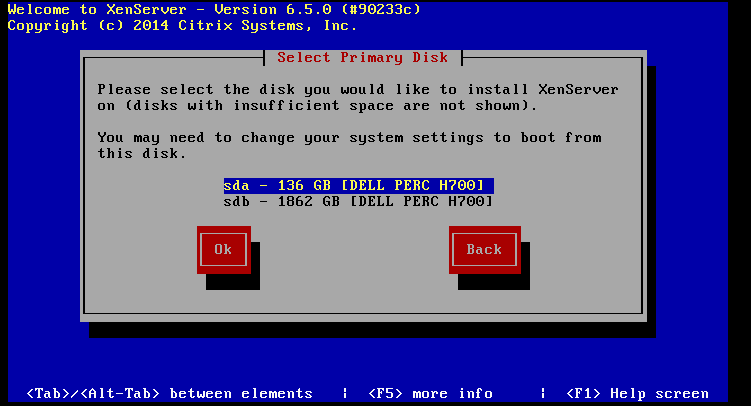
- Set the installation destination to sda.
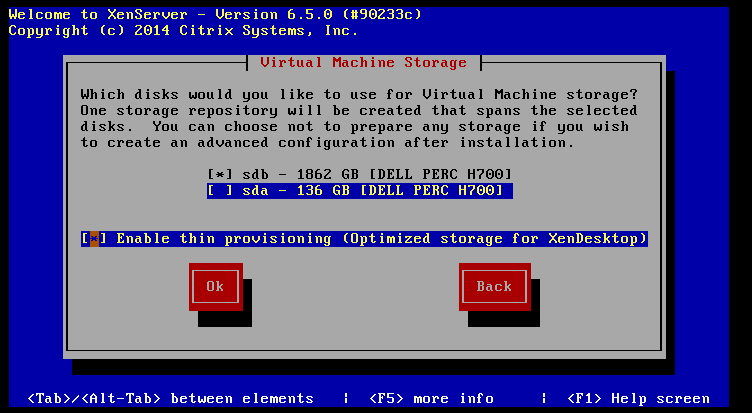
- Set VM storage to only sdb, and enable thin provisioning:
- Select local media as the installation source.
- Do not install any supplemental packs.
- Skip verification of the installation media.
- Set a good
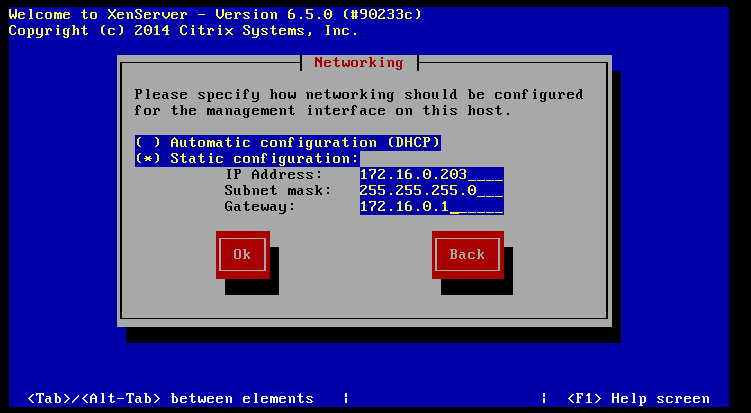
*XENSERVER_ROOT*password. Use a password which you don’t mind being plain-text readable to anyone who has root access to this system. - Set the management network interface to use eth1 and configure the IPv4 addresses:
- Set an appropriate timezone.
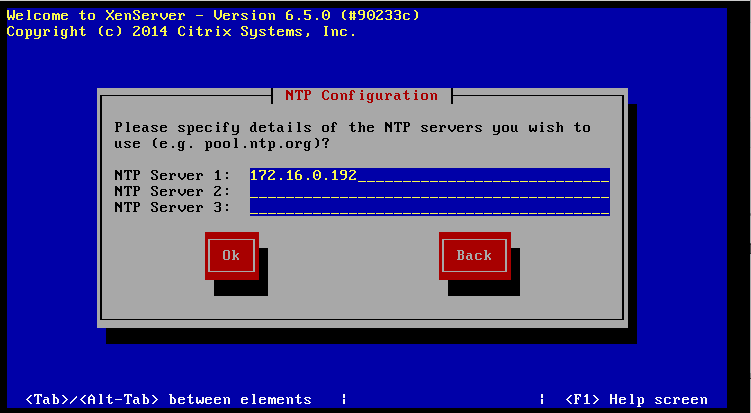
- Configure the server to use NTP, and set the server address as the controller’s IP:
- Start the installation.
- Reboot the server to start XenServer. The first boot will take a very long time. It will appear to hang a couple of times, but wait for it to reach the user interface.
- On a Windows workstation, go to http://xenserver.org/open-source-virtualization-download.html
- Download XenCenter Windows Management Console, and install it.
- Download XenServer 6.5 SP1 (under Service Packs), and keep it safe in a directory.
- Download all of the public hotfixes for XenServer 6.5 SP1, and also keep them safe in a directory.
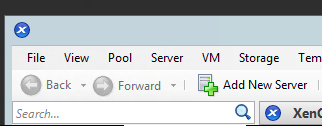
- Launch XenCenter, and click add new server:
- Enter the address and credentials of the XenServer:
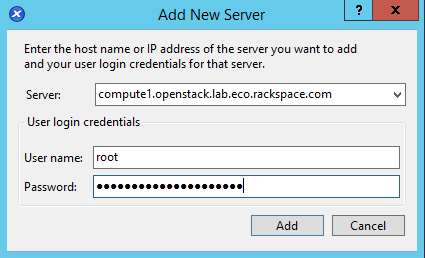
- Enable the option to remember the connection, and click OK.
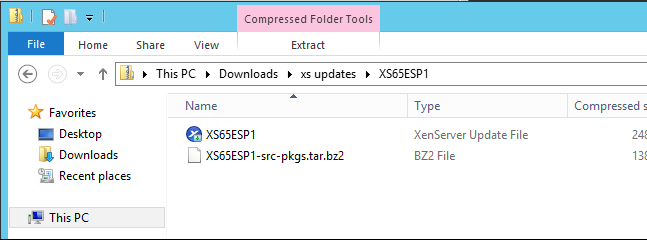
- Open up the SP1 zip file you downloaded, and double-click the XenServer Update File inside:
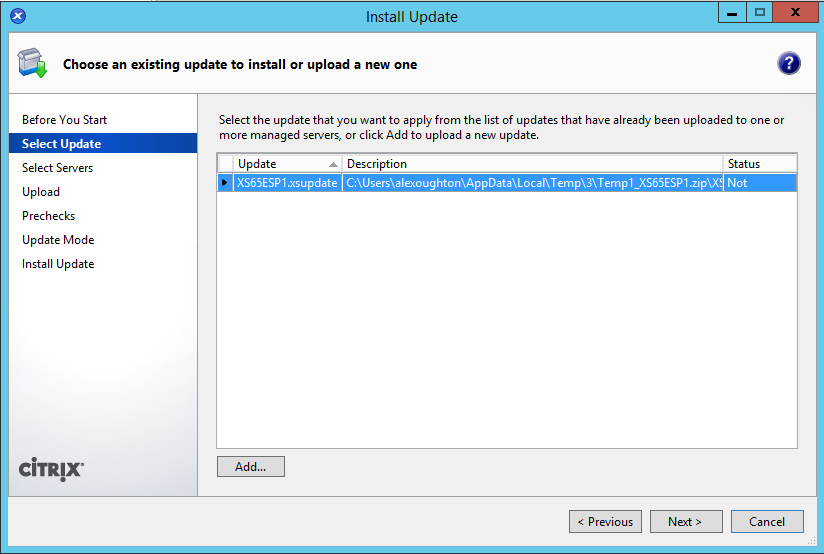
- This will open the Install Update wizard. Click Next:
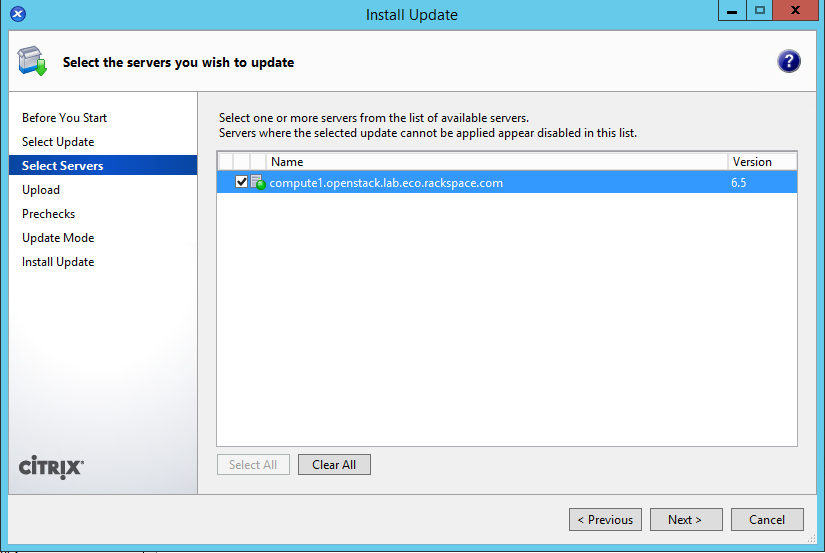
- Select our one server, and click next:
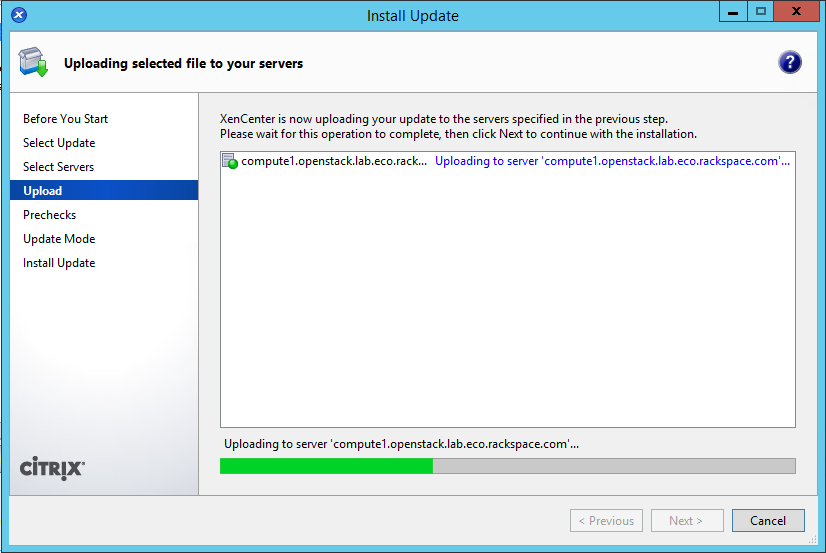
- XenCenter will upload the update to the server. Click next when done:
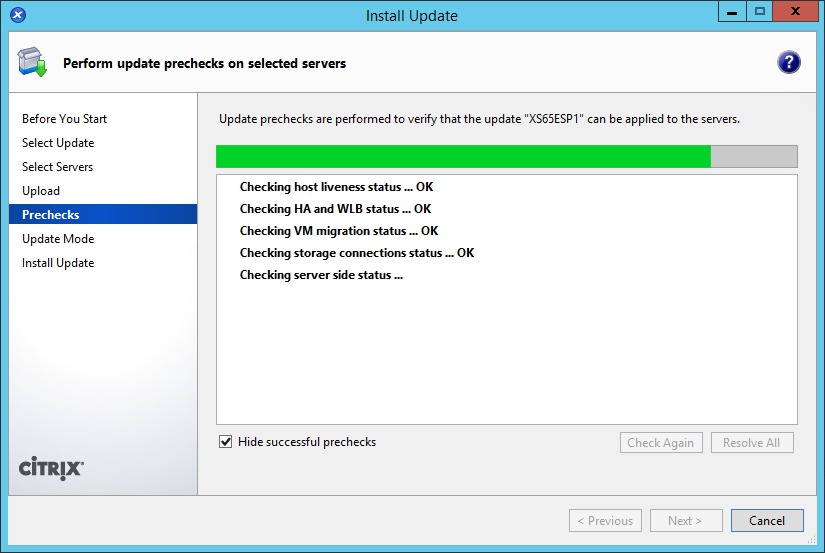
- XenCenter will run some checks. Click next when done:
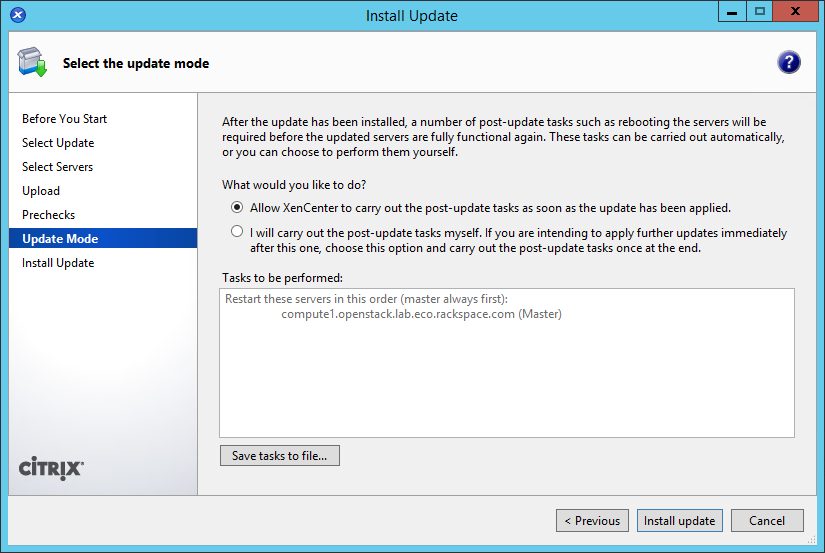
- Select “Allow XenCenter to carry out the post-update tasks”, and then click on “Install Update”:
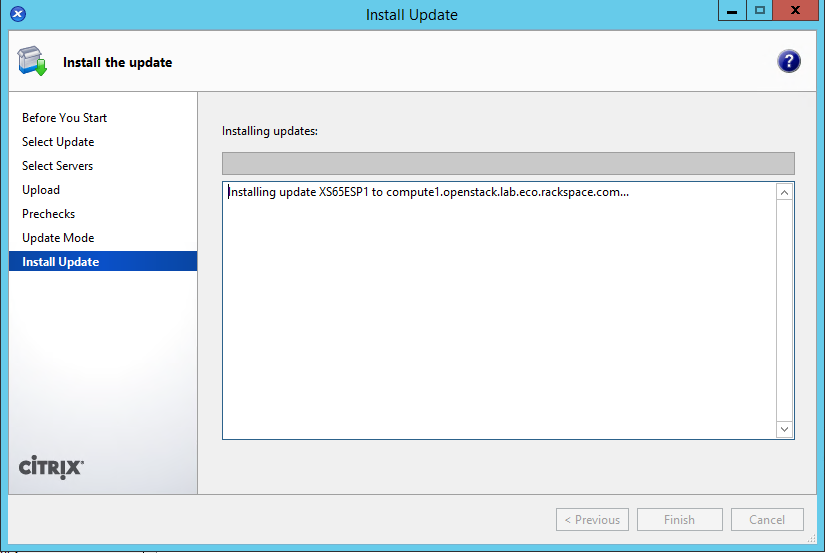
- XenCenter will perform the installation, and reboot the server. This will take a while to complete. Click Finish when done:
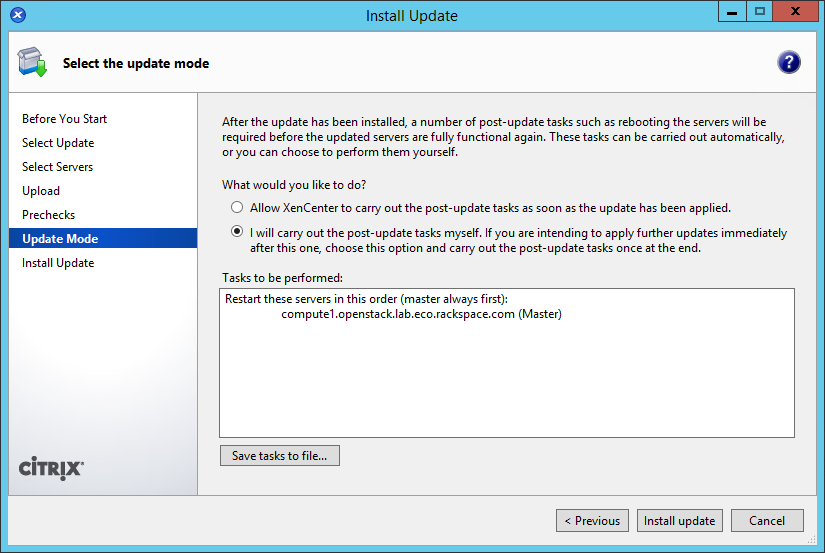
- Repeat steps 22-27 for all of the hotfixes you downloaded. Except in step 26, select “I will carry out the post-update checks myself” for ALL of the hotfixes:
- Reboot the XenServer by right-clicking it in XenCenter, and clicking on “Reboot”:
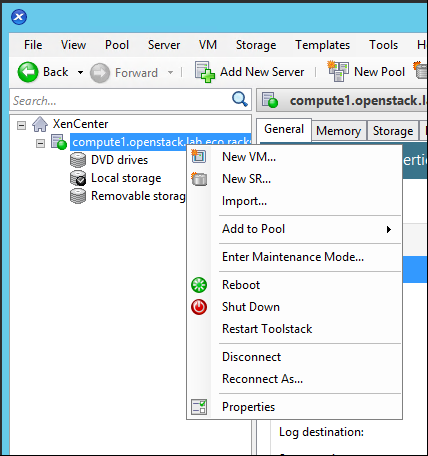
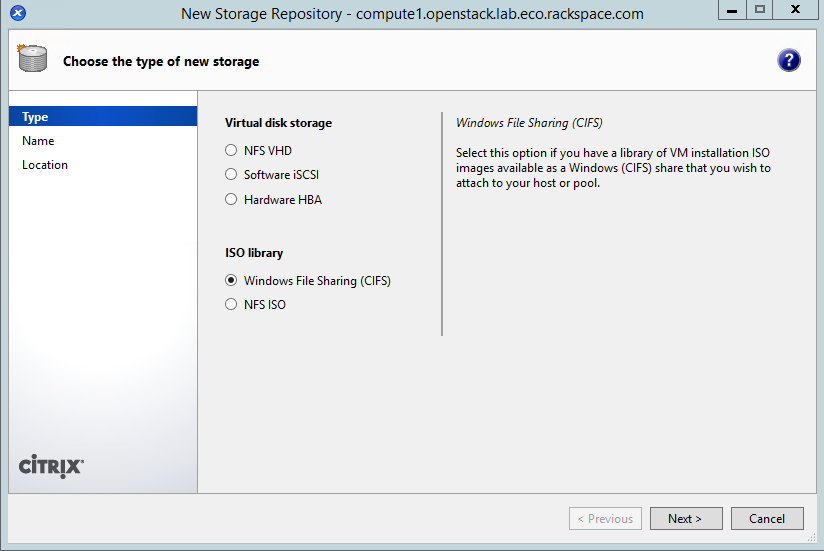
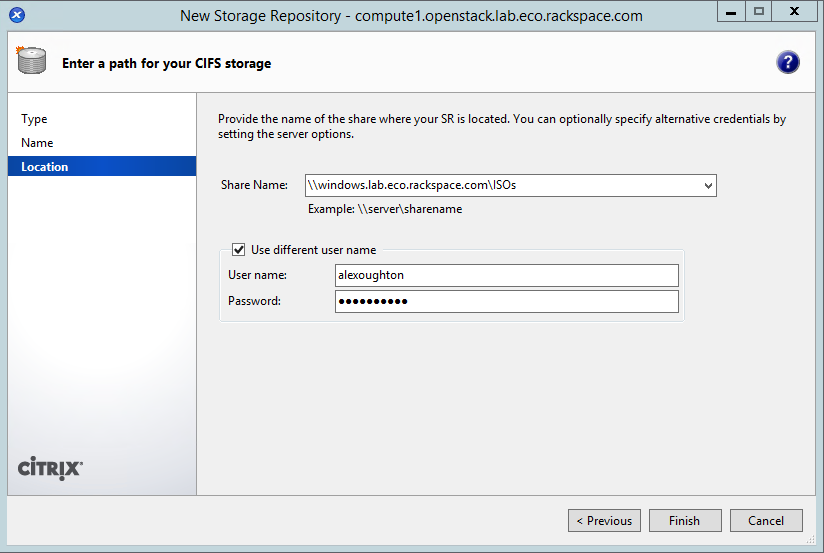
- Once the server is back online, right-click it and select “New SR…”
- Create an ISO library somewhere where you will have read/write access. In my case I am using a Windows share, but you can use NFS:
SSH to the XenServer as root.
Create the OpenStack Integration Bridge network:
# xe network-create name-label=openstack-int-network
Obtain the bridge name of the new network. Write this down as
*XAPI_BRIDGE*, as this will be needed later:# xe network-list name-label=openstack-int-network params=bridge bridge ( RO) : xapi0
Find the UUID of the ISO library created earlier:
# xe sr-list

  uuid ( RO)                : ef0adc0a-3b56-5e9d-4824-0821f4be7ed4
            name-label ( RW): Removable storage
      name-description ( RW):
                  host ( RO): compute1.openstack.lab.eco.rackspace.com
                  type ( RO): udev
          content-type ( RO): disk


  uuid ( RO)                : 6658e157-a534-a450-c4db-2ca6dd6296cf
            name-label ( RW): Local storage
      name-description ( RW):
                  host ( RO): compute1.openstack.lab.eco.rackspace.com
                  type ( RO): ext
          content-type ( RO): user


  uuid ( RO)                : f04950c1-ee7b-2ccb-e3e2-127a5bffc5a6
            name-label ( RW): CIFS ISO library
      name-description ( RW): CIFS ISO Library [\\windows.lab.eco.rackspace.com\ISOs]
                  host ( RO): compute1.openstack.lab.eco.rackspace.com
                  type ( RO): iso
          content-type ( RO): iso


  uuid ( RO)                : 7a549ca7-d1af-cf72-fd7e-2f48448354e8
            name-label ( RW): DVD drives
      name-description ( RW): Physical DVD drives
                  host ( RO): compute1.openstack.lab.eco.rackspace.com
                  type ( RO): udev
          content-type ( RO): iso


  uuid ( RO)                : 9a4f8404-7745-b582-484f-108917bf1488
            name-label ( RW): XenServer Tools
      name-description ( RW): XenServer Tools ISOs
                  host ( RO): compute1.openstack.lab.eco.rackspace.com
                  type ( RO): iso
          content-type ( RO): iso
- In my example, the UUID is
f04950c1-ee7b-2ccb-e3e2-127a5bffc5a6.
Set a parameter on the ISO library. Replace
*UUID*with the UUID found above:# xe sr-param-set uuid=*UUID* other-config:i18n-key=local-storage-iso
Update the system hosts file with entries for all nodes:
# vi /etc/hosts

  172.16.0.192 controller controller.openstack.lab.eco.rackspace.com
  172.16.0.203 compute1 compute1.openstack.lab.eco.rackspace.com
  172.16.0.204 compute1-vm compute1-vm.openstack.lab.eco.rackspace.com
  172.16.0.195 compute2 compute2.openstack.lab.eco.rackspace.com
  172.16.0.196 block1 block1.openstack.lab.eco.rackspace.com
  172.16.0.197 object1 object1.openstack.lab.eco.rackspace.com
  172.16.0.198 object2 object2.openstack.lab.eco.rackspace.com
Relax XSM SR checks. Needed for migration of instances with Cinder volumes:
# vi /etc/xapi.conf

  relax-xsm-sr-check = true
Symlink a directory of the SR to /images. Needed for instance migration:
# LOCAL_SR=$(xe sr-list name-label="Local storage" --minimal)
# IMG_DIR="/var/run/sr-mount/$LOCAL_SR/images"
# mkdir -p "$IMG_DIR"
# ln -s "$IMG_DIR" /images
Set up SSH key authentication for the root user. Needed for instance migration. Press ENTER to give default response to all prompts:
# ssh-keygen

  Generating public/private rsa key pair.
  Enter file in which to save the key (/root/.ssh/id_rsa):
  Enter passphrase (empty for no passphrase):
  Enter same passphrase again:
  Your identification has been saved in /root/.ssh/id_rsa.
  Your public key has been saved in /root/.ssh/id_rsa.pub.

# cat /root/.ssh/id_rsa.pub >> /root/.ssh/authorized_keys
- Note: If you are building an additional XenServer host, you will instead copy the contents of /root/.ssh from your first XenServer host to your additional hosts.
Restart the XenServer Toolstack:
# xe-toolstack-restart