8. Build XenServer Compute VM
This page is based on the following OpenStack Installation Guide pages:
http://docs.openstack.org/liberty/install-guide-rdo/environment-networking-compute.html
http://docs.openstack.org/liberty/install-guide-rdo/environment-ntp-other.html
http://docs.openstack.org/liberty/install-guide-rdo/environment-packages.html
There are many additional steps here specific to XenServer.
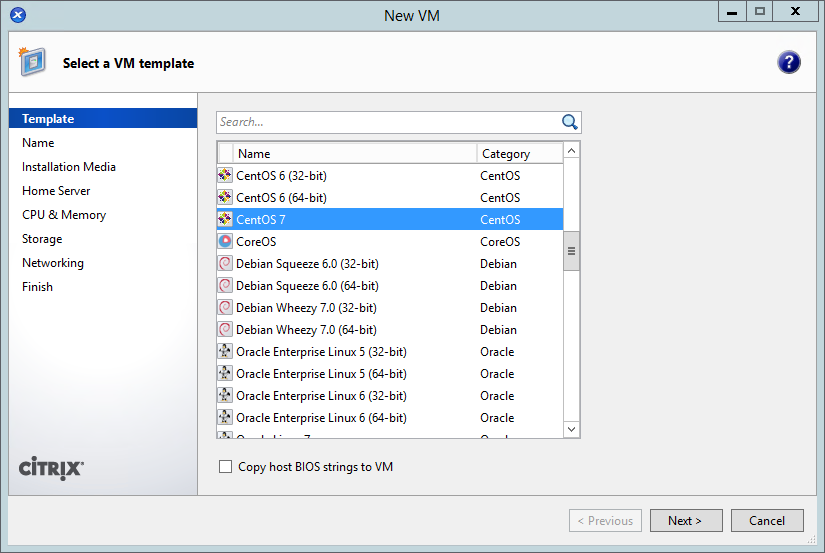
- In XenCenter, create a new VM:
- Select the CentOS 7 template:
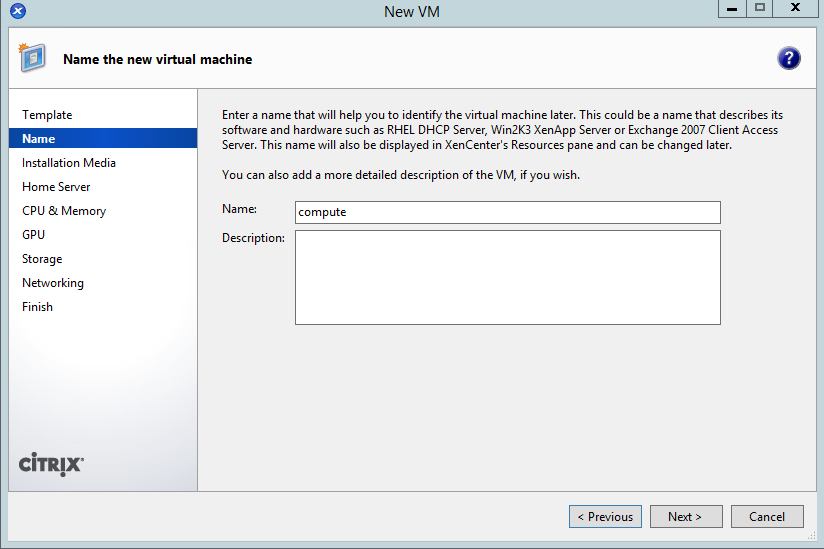
- Name the VM “
compute”:
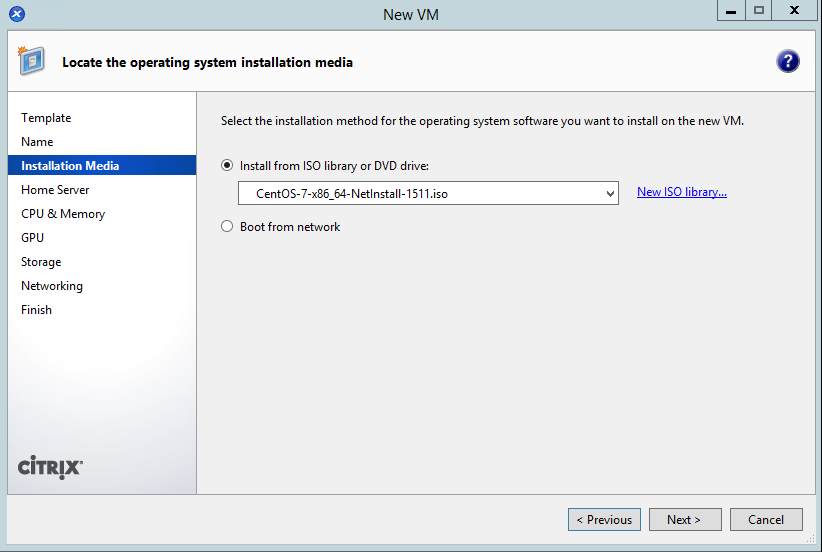
- Choose the CentOS 7 ISO (which you should have previously uploaded to the ISO library):
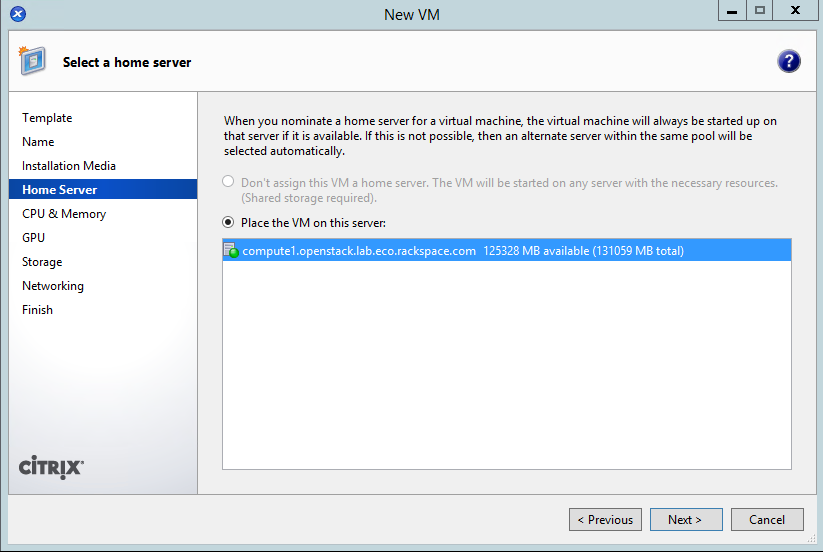
- Place the VM on the only server available:
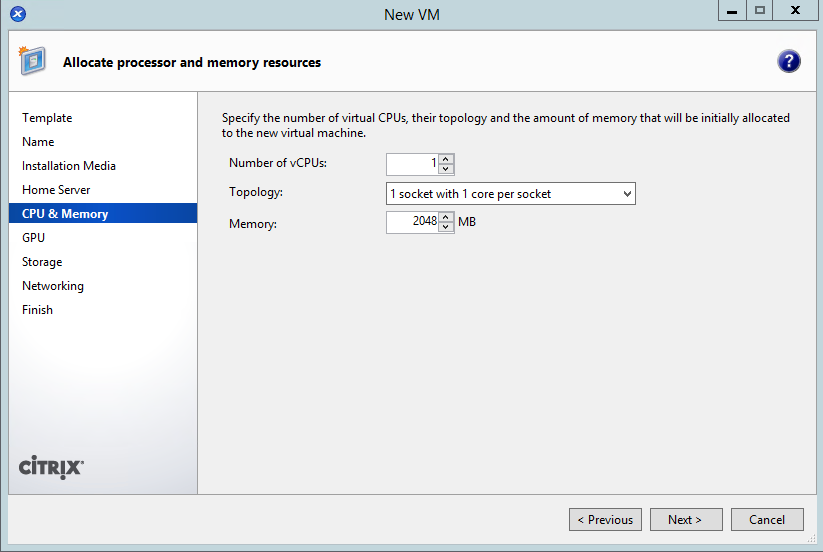
- Give it one CPU and 2GB:
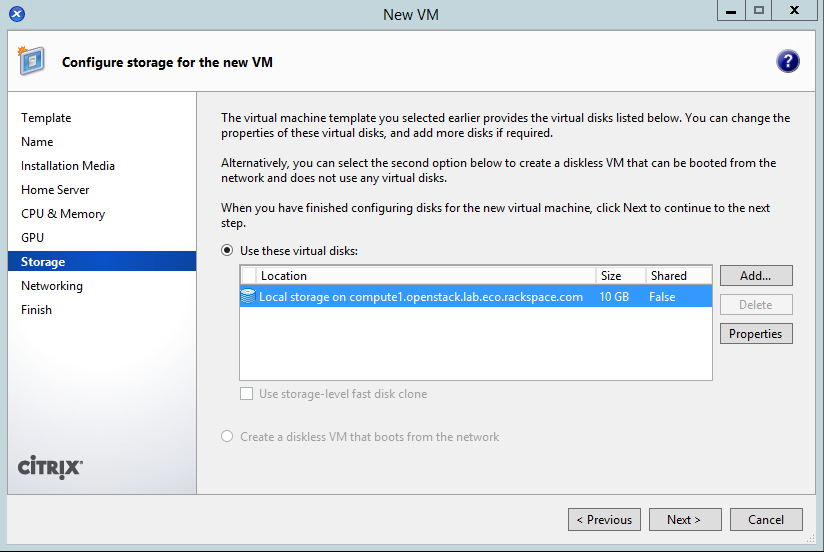
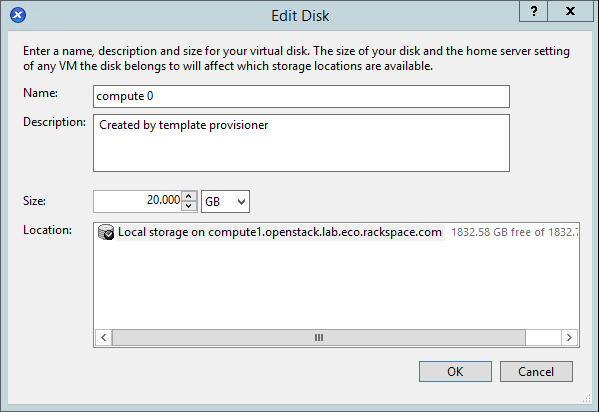
- Change the disk to 20GB by clicking on properties:
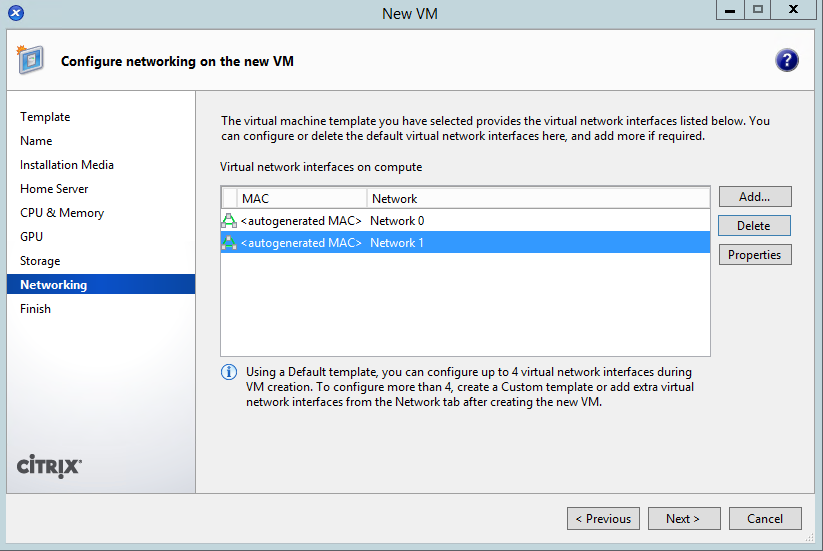
- Give the VM connections to your management and public networks:
- Complete the wizard, which will start the VM.
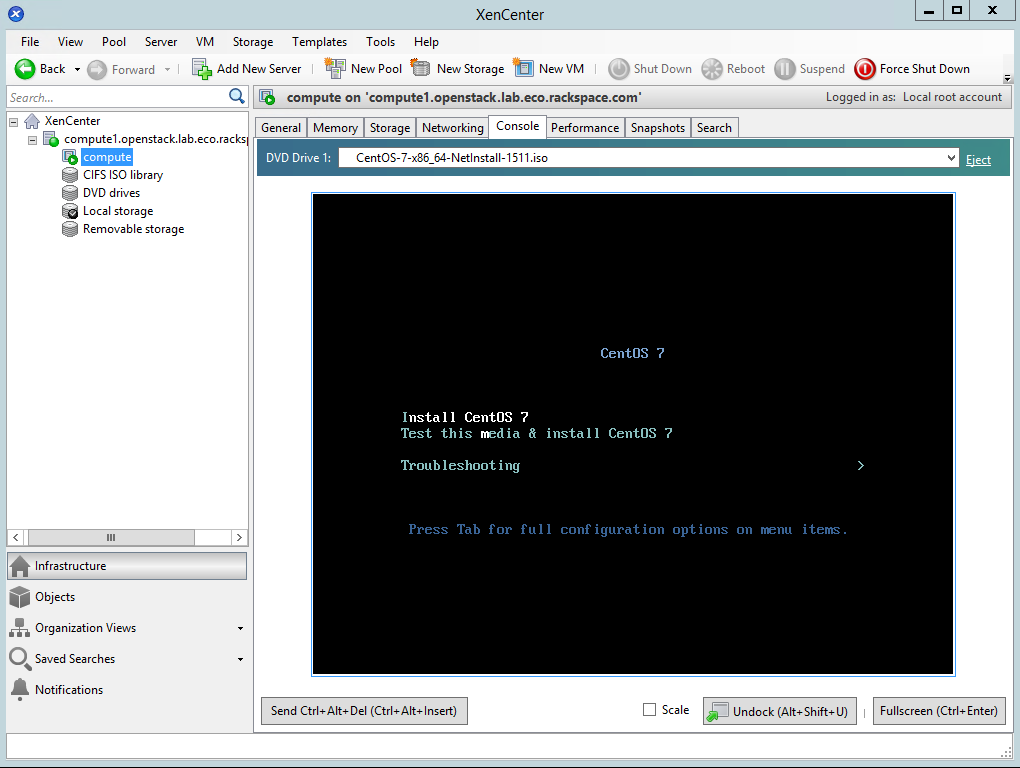
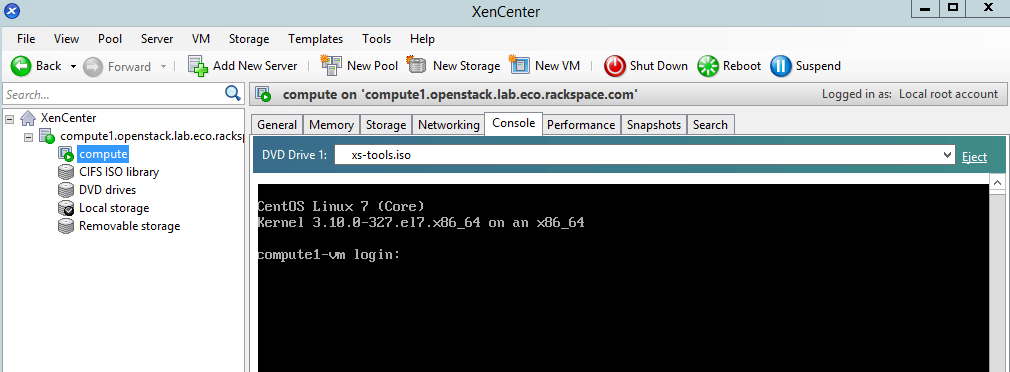
- Go to the “compute” VM’s console, which should be displaying the CentOS installer’s boot screen:
- Highlight “Install CentOS 7”, and press Enter:
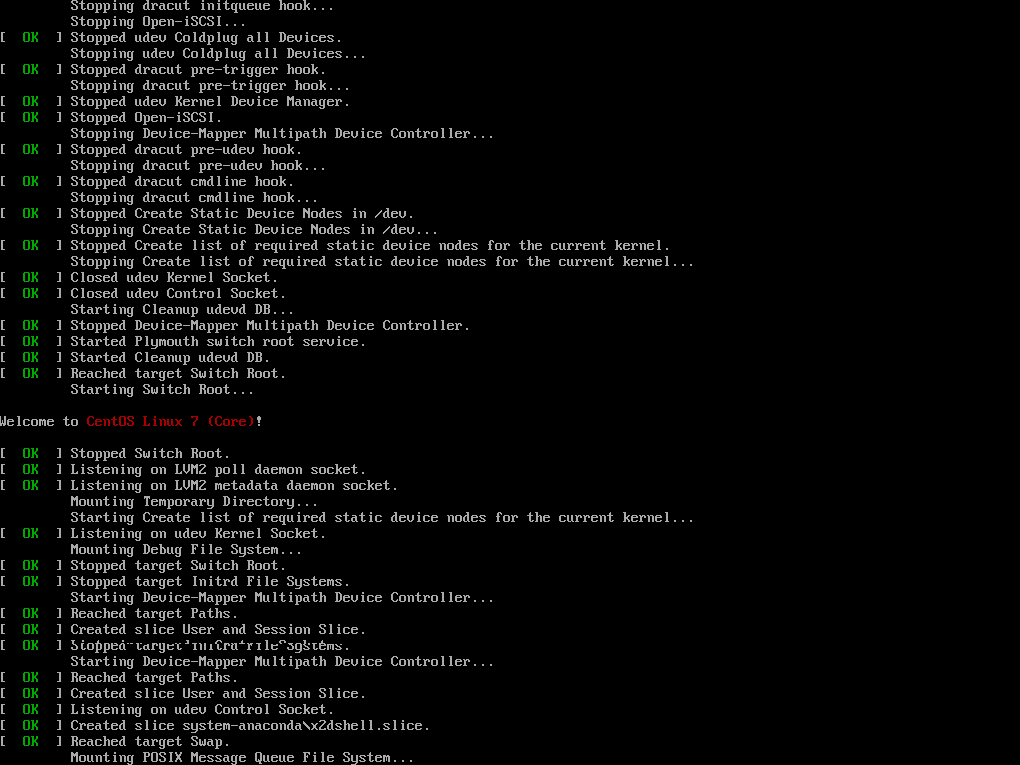
- If the console appears to “hang”, with only a cursor showing (and no other activity), then quit XenCenter, relaunch it, and go back to the console. This should show the graphical installer is now running:
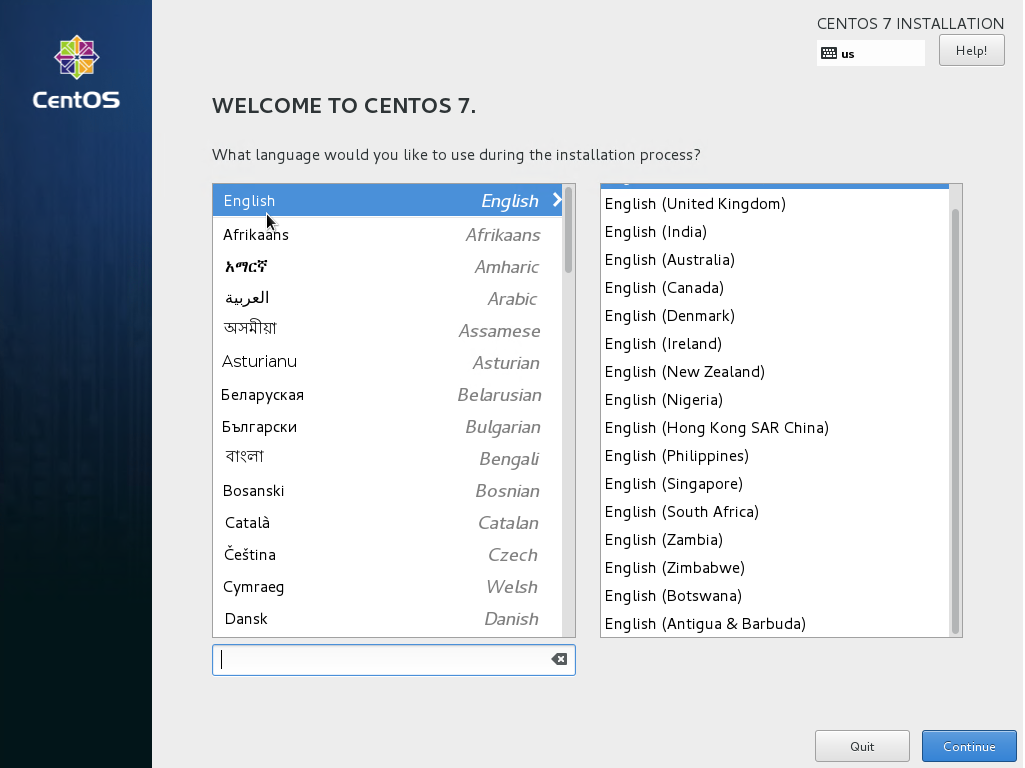
- Set language and timezone.
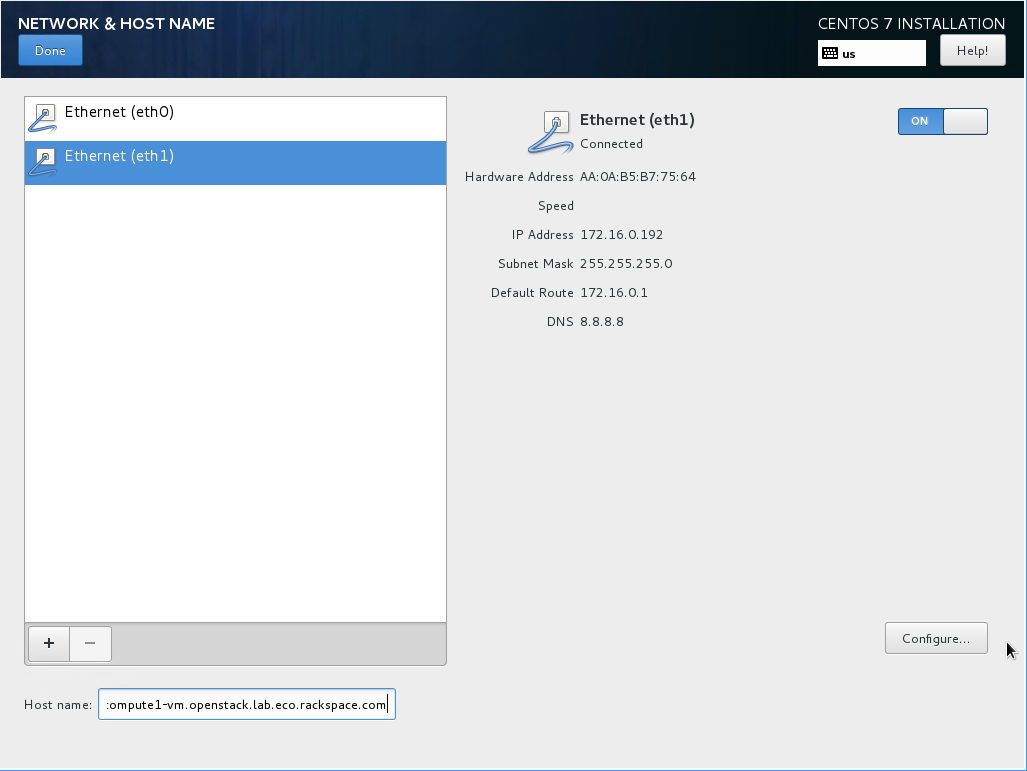
- Click on “Network & Hostname”. Click on the “eth1” interface, and click on “configure”.
- Set the IPv4 address as appropriate:
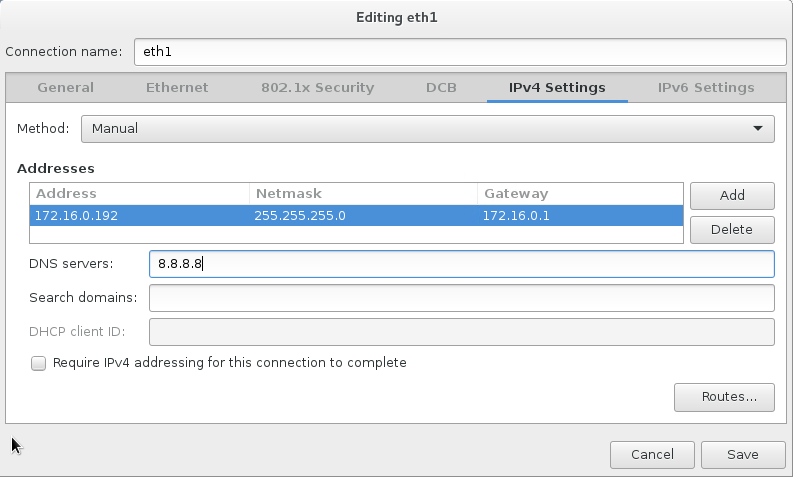
- Disable IPv6, and click on “save”:

- Set an appropriate hostname, and then enable the “eth1” interface by setting the switch to “on”:
- If using the NetInstall image, click on “Installation source”. Set the source to network, and then define a known-good mirror. You can use
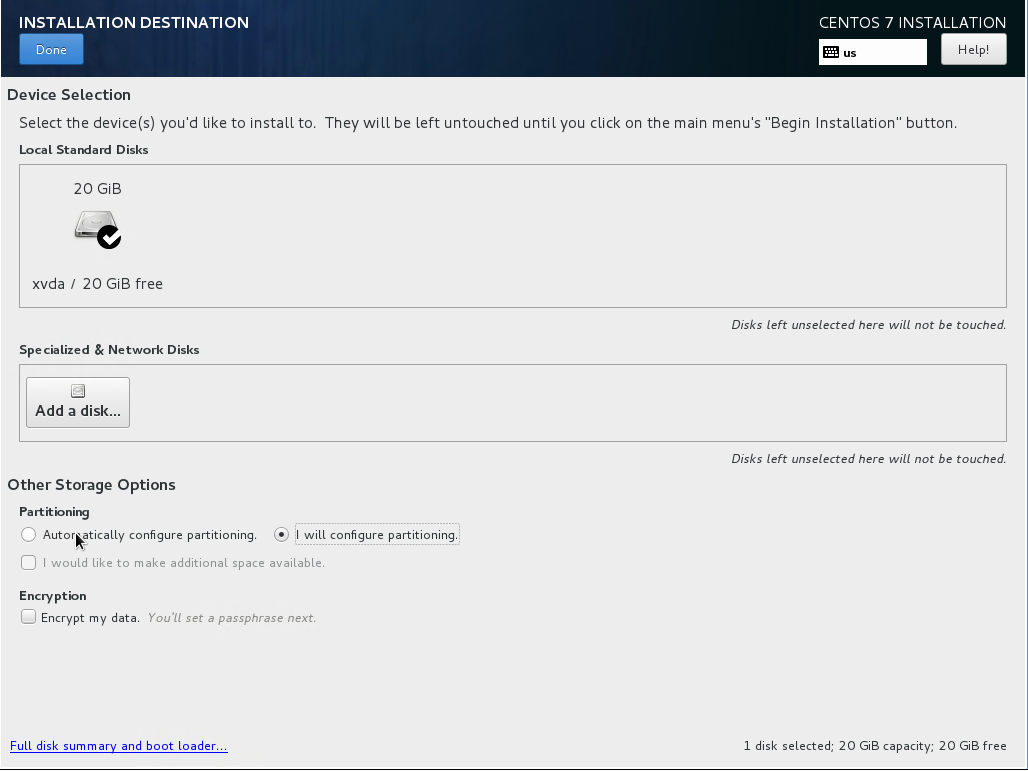
http://mirror.rackspace.com/CentOS/7.2.1511/os/x86_64/. - Click on “Installation Destination”. Select “I will configure partitioning” and click on “Done”:
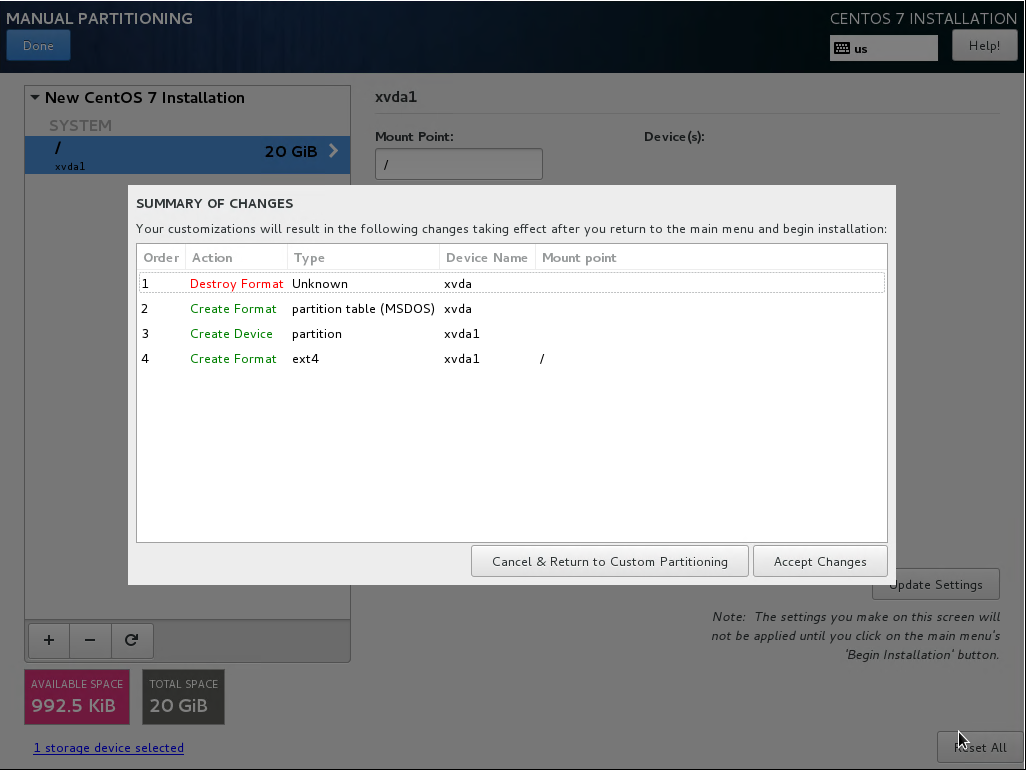
- Under “New mount points will use the following partition scheme”, select “Standard Partition”.
- Click on the + button. Set the mount point to / and click “Add mount point”:

- Set “File System” to “ext4”, and then click “Done”.
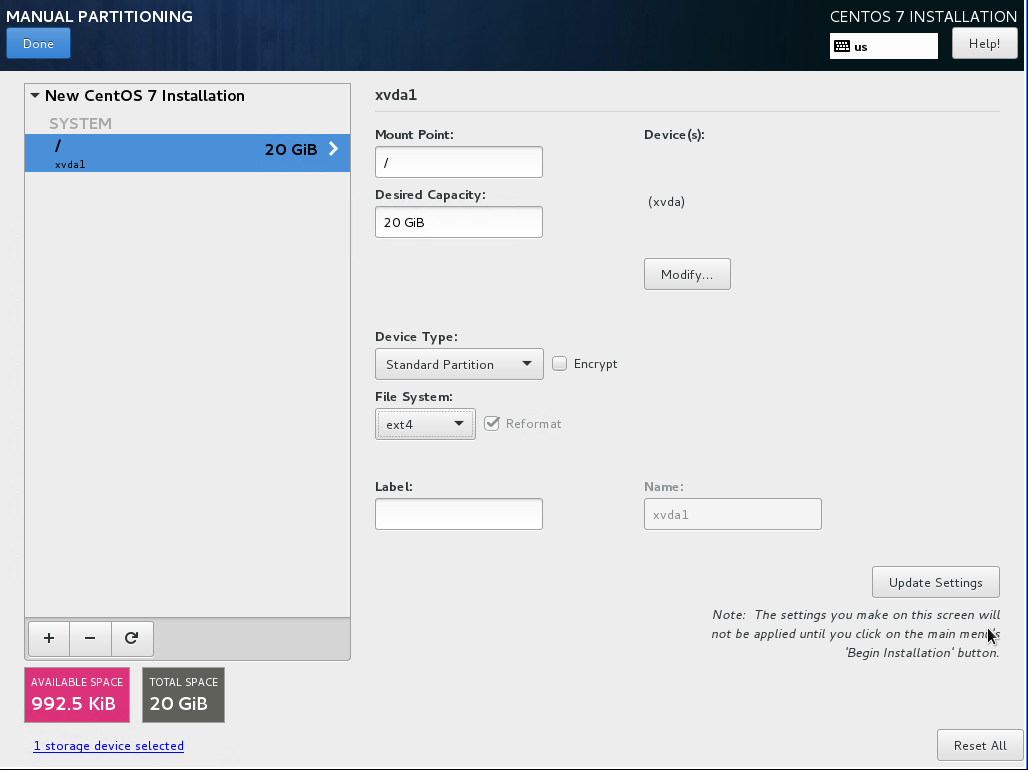
- A yellow warning bar will appear. Click “Done” again, and then click on “Accept Changes”.
- Click on “Software Selection”. Select “Infrastructure Server”, and click “Done”.

- Click “Begin Installation”. Click on “Root Password” and set a good password.
- Once installation is complete, click “Reboot”.
- SSH as root to the new VM.
- In XenCenter, change the DVD drive to
xs-tools.iso:
Mount the tools ISO and install the tools:
# mkdir /mnt/cdrom
# mount /dev/cdrom /mnt/cdrom
# cd /mnt/cdrom/Linux
# rpm -Uvh xe-guest-utilities-6.5.0-1427.x86_64.rpm xe-guest-utilities-xenstore-6.5.0-1427.x86_64.rpm
# cd ~
# umount /mnt/cdrom
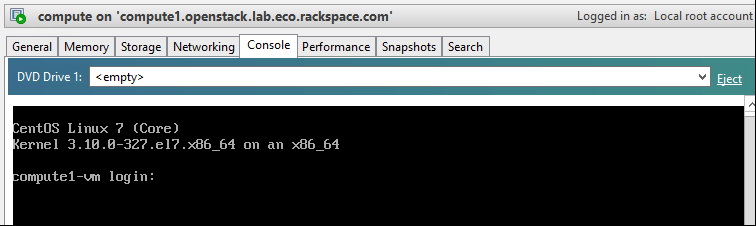
In XenCenter, eject the DVD drive:
Stop and disable the firewalld service:
# systemctl disable firewalld.service
# systemctl stop firewalld.service
Disable SELINUX:
# setenforce 0
# vim /etc/sysconfig/selinux

  SELINUX=permissive
Update all packages on the VM:
# yum update
Reboot the VM:
# systemctl reboot
Wait for the VM to complete the reboot, and SSH back in as root.
Update the system hosts file with entries for all nodes:
# vim /etc/hosts

  172.16.0.192 controller controller.openstack.lab.eco.rackspace.com
  172.16.0.203 compute1 compute1.openstack.lab.eco.rackspace.com
  172.16.0.204 compute1-vm compute1-vm.openstack.lab.eco.rackspace.com
  172.16.0.195 compute2 compute2.openstack.lab.eco.rackspace.com
  172.16.0.196 block1 block1.openstack.lab.eco.rackspace.com
  172.16.0.197 object1 object1.openstack.lab.eco.rackspace.com
  172.16.0.198 object2 object2.openstack.lab.eco.rackspace.com
Update the chrony configuration to use the controller as a time source:
# vim /etc/chrony.conf

  server controller iburst
- Remove any other servers listed, leaving only “
controller”.
Restart the chrony service, and confirm that “
controller” is listed as a source:# systemctl restart chronyd.service # chronyc sources 210 Number of sources = 1 MS Name/IP address Stratum Poll Reach LastRx Last sample =============================================================================== ^* controller 3 6 17 6 -3374ns[+2000ns] +/- 6895us
Enable the OpenStack-Liberty yum repository:
# yum install centos-release-openstack-liberty
Install the OpenStack client and SELINUX support:
# yum install python-openstackclient openstack-selinux
SSH to the XenServer as root.
Obtain the UUID of the XenServer pool:
# xe pool-list

  uuid ( RO)                : f824b628-1696-9ebe-5a5a-d1f9cf117158
            name-label ( RW):
      name-description ( RW):
                master ( RO): b11f5aaf-d1a5-42fb-8335-3a6451cec4c7
            default-SR ( RW): 271e0f43-8b03-50c5-a08a-9c7312741378
- Note: In my case, the UUID is
f824b628-1696-9ebe-5a5a-d1f9cf117158.
Enable auto power-on for the XenServer pool. Replace
*POOL_UUID*with your own:# xe pool-param-set uuid=*POOL_UUID* other-config:auto_poweron=true
Obtain the UUID of the “compute VM”:
# xe vm-list name-label='compute'

  uuid ( RO)           : 706ba8eb-fe5f-8da2-9090-3a5b009ce1c4
       name-label ( RW): compute
      power-state ( RO): running
- Note: In my case, the UUID is
706ba8eb-fe5f-8da2-9090-3a5b009ce1c4.
Enable auto power-on for the “compute” VM. Replace
*VM_UUID*with your own:# xe vm-param-set uuid=*VM_UUID* other-config:auto_poweron=true